Make colourful fabric coasters with quilt as you go
Fabric coasters are a small sewing project with a surprisingly useful payoff. They protect a timber table from cold drink rings, catch the drips from an icy glass, and give you a chance to use scraps that are too good to throw away. With the quilt as you go method, each coaster becomes a compact piece of patchwork with its own layer of wadding and backing already attached.
This project suits a quiet afternoon at the sewing machine, whether you are new to quilting or an experienced garment maker with a basket of remnants. You can keep the shape and piecing simple, or use the surface to practise colour mixing, straight-line quilting, and neat mitred corners.
For Australian homes, these are especially handy during long summer lunches, barbecues, and relaxed drinks on the veranda. Cotton scraps, light batting, and a few basic tools are all you need to make a set that feels useful rather than overly precious.
Choosing fabrics and preparing the pieces
Woven quilting cotton is the easiest choice for this project because it presses well and has a stable weave. You can combine small florals, checks, stripes, and solid colours, or use leftovers from a handmade apron, tote bag, or sewing project. Medium-weight linen or linen-cotton can work too, although it may need a little spray starch to stop the edges stretching while you sew.
For each coaster, prepare a backing square, a piece of thin cotton batting, and several fabric strips for the top. A finished size of about 11–12 cm is practical for mugs and tumblers. Cut the backing and batting slightly larger than the intended coaster, then trim the completed quilted piece to its final measurements. This small allowance makes the early sewing less stressful.
Think about the climate and the way the coasters will be used. In a warm Queensland or Western Australian kitchen, a densely woven cotton top will cope well with condensation and frequent washing. In a cooler Tasmanian home, flannel scraps can add a cosy layer, though avoid very thick combinations that make the coaster bulky. Prewash fabric if possible, especially when mixing dark and pale colours.
Building the quilt as you go block
Place the batting on your work surface and position the first fabric piece face up in the centre. It can be a square, a rectangle, or a narrow strip. Add the next fabric strip face down along one edge, aligning the raw edges. Stitch through the fabric and batting with a straight seam, then open the new strip and press it away from the first piece.
Continue adding strips around the central piece. Each time, place the next strip right sides together with the exposed edge, sew through all layers, flip it open, and press. The stitching both joins the patchwork and quilts it to the batting, so there is no separate quilting stage later. A walking foot can help keep the layers smooth, but an ordinary foot works well if you sew slowly and avoid pulling the fabric.
Aim for a seam allowance of around 6 mm, or use the width that feels comfortable and consistent on your machine. Straight strips make a modern, orderly design, while deliberately varied widths create a relaxed scrappy look. If you enjoy low-waste sewing, join narrow offcuts into strip sets before cutting them into sections for the coaster tops.
Adding texture and useful quilting details
Quilt as you go coasters do not need elaborate stitching to look finished. Simple parallel lines, a crosshatch, or a few diagonal rows can secure the layers and add texture. If your fabric already has a strong print, let the patchwork lead and use understated quilting. If the top is made from solids, contrasting thread can become part of the design.
Keep the batting lightweight so the finished coaster lies flat under a glass. Cotton batting gives a soft, natural feel, while a thin polyester or heat-resistant batting can provide a little extra insulation for a warm mug. These are drink coasters rather than trivets, so avoid presenting them as protection for a hot saucepan or baking dish.
Small sewing details can make a handmade set feel polished. Use a slightly shorter stitch length, around 2.5 mm, for secure seams, and press after every added strip. If you are working with linen, check that the grain remains reasonably straight. A quick steam press can tame a wavering edge before you trim the block.
For another small project that uses natural colour and texture, the ideas in this seasonal wreath tutorial pair nicely with handmade table accessories. Dried orange and cinnamon bring a warm scent to a dining area, while fabric coasters can be changed with the seasons.
Finishing the edges neatly
Once the quilted top covers the batting, place a ruler over it and trim the block to a square. Check that the patchwork extends beyond every edge before cutting. If one side is short, add another narrow strip rather than trying to force the coaster into an uneven shape. A clear quilting ruler and rotary cutter make this step quicker, but sharp fabric scissors are perfectly adequate.
To bind the coaster, cut a strip about 5 cm wide and long enough to go around all four sides, adding a little extra for joining. Join the short ends, press the strip in half lengthways with wrong sides together, and attach it to the front of the coaster. Work around the corners carefully, stopping a seam allowance away from each corner before pivoting.
Fold the binding over the raw edge to the back and stitch it down by hand or machine. Hand stitching gives a quiet, traditional finish; machine stitching is durable and efficient for a set that will be washed often. If you prefer a quicker approach, place the backing right sides together with the quilted top, sew around the perimeter, leave a turning gap, and close it with a slip stitch. The result is more like a small quilted mat than a traditionally bound coaster.
A hem band technique can also be useful when you want a controlled, tidy edge on small sewing projects. This guide to sewing a hem band explains the principle of adding a separate facing-like strip, which can be adapted for a clean coaster border.
Using, washing, and styling your set
Before putting the coasters into service, give them a final press and trim any loose threads. Wash them according to the most delicate fabric in the group. Cotton patchwork may shrink slightly after its first wash, so prewashing and consistent fabric choices help keep the set flat. Air-dry them on a clothesline when possible, then press while still slightly damp if the edges need reshaping.
A set of four or six makes a useful handmade gift for a new home, a host, or someone who enjoys a morning cuppa. Choose a limited palette for a coordinated table, or make each coaster different so that every guest can recognise their own glass. For Australian outdoor entertaining, darker middle sections and patterned fabrics can disguise small marks from red wine, cordial, or muddy garden hands.
You can also adapt the dimensions for different uses. Make smaller rounds for espresso cups, larger squares for bowls of snacks, or long narrow mats for a jug and several glasses. Rounded corners soften the look and reduce the chance of fraying, while a small loop stitched into the binding allows the coasters to hang from a hook.
If you enjoy making practical items from scraps, keep a dedicated container for pieces at least 5 cm wide. Sort them by colour rather than fabric type, and combine similar weights within each project. An email full of sewing inspiration can be found through this sewing newsletter, with ideas that suit makers who enjoy wearable projects, fabric experiments, and useful handmade details. With a few saved scraps and a little regular pressing, quilt as you go coasters become an easy way to turn leftover fabric into something used every day.
Popular Pattern Reviews
| Pattern | Designer | Type | Highlight |
|---|---|---|---|
| Compose Robe (Kids) | Love Notions | Robe / Loungewear | Sizes 2T–16, cosy & practical |
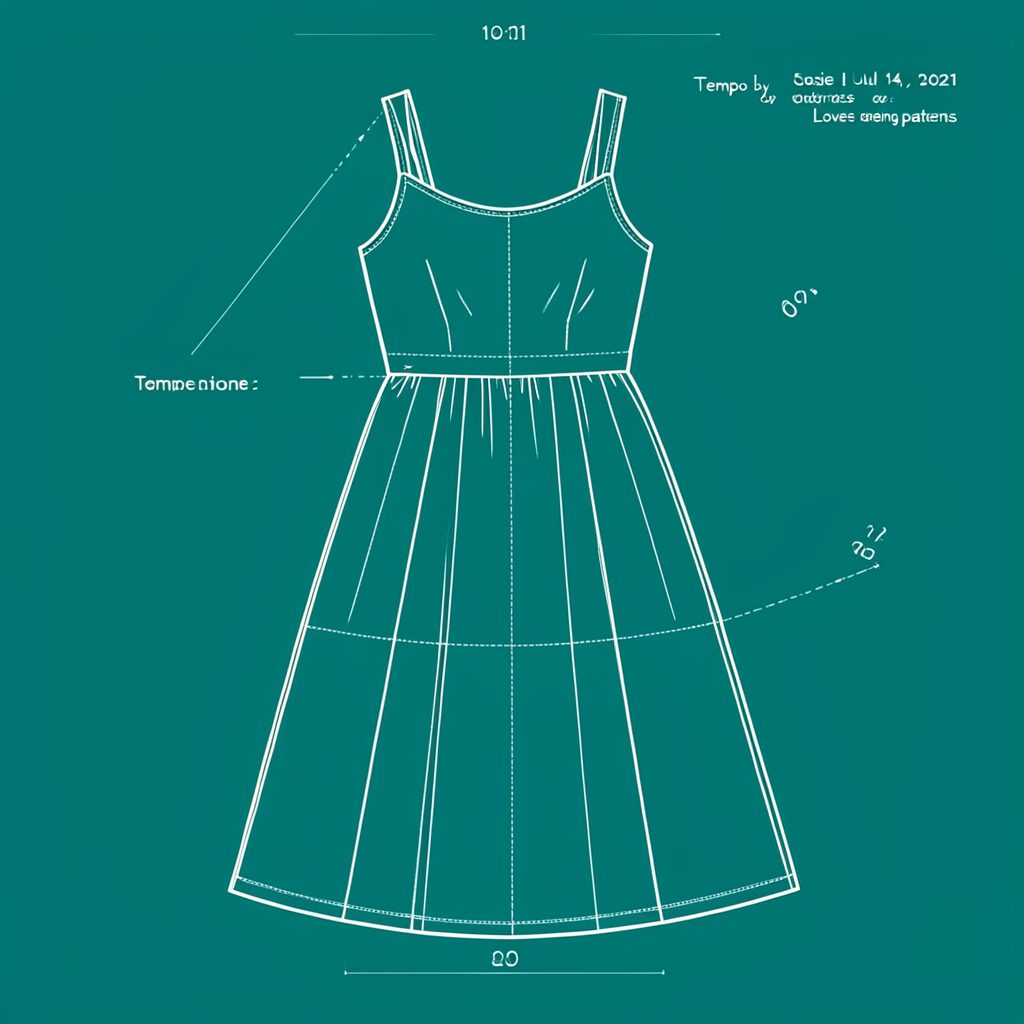
| Tempo Sundress | Love Notions | Sundress | No closures, shirred back panel |
| Arlington Sweater | Love Notions | Sweater | Cold-weather staple |
| Sybil Illusion Skirt | Love Notions | Skirt (knit) | 7 variations, optional pockets |
| Camden Pinafore | Nina Lee Patterns | Pinafore dress | Year-round layering piece |
| Ogden Cami (dress hack) | True Bias | Cami / Dress | Versatile wardrobe builder |
| Burda 6829 | Burda | Dress | Multi-sized, special-occasion |
Stay in Touch
Subscribe to the newsletter for sewing inspiration, pattern tips, and project ideas delivered straight to your inbox.