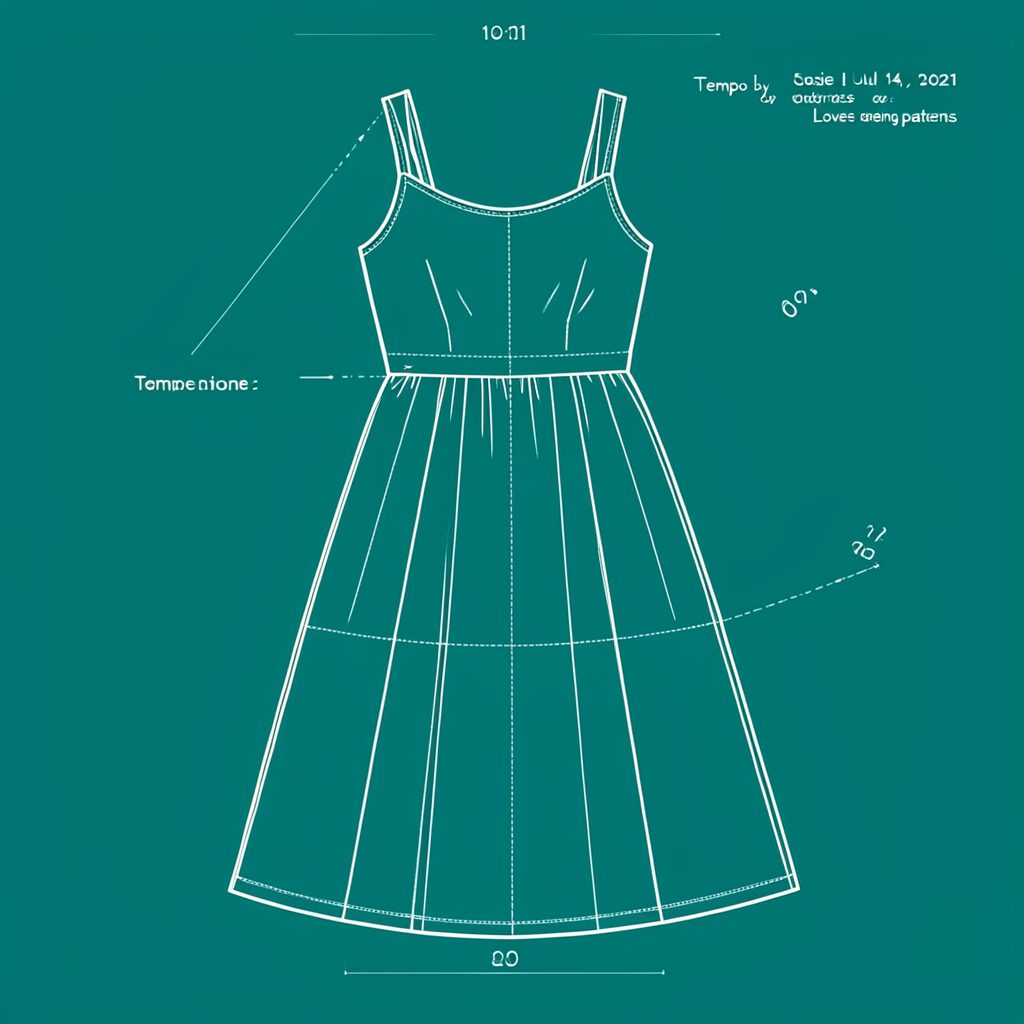
DIY fabric pin cushion with a weighted bottom
A DIY fabric pin cushion with a weighted bottom is a small sewing project with a very practical purpose. The lower section holds extra weight, so the cushion stays beside the sewing machine instead of sliding across the table. A soft gathered top gives traditional pins a safe place to rest.
The weight can be as simple as a small pouch of craft beads trapped inside the base. A round design is quick to cut, easy to grip, and works with cotton, linen, or leftover garment fabric. The same basic construction also suits a square cushion if you prefer crisp corners for a studio shelf.
This project is beginner-friendly if you have a sewing machine, though the curved base is comfortable to stitch by hand. Use a smaller amount of filling than seems necessary: the upper part should feel soft, while only the bottom needs enough mass to settle the cushion. Dense packing can create a hard lump that is unpleasant to lean on.
A handmade cushion also makes a thoughtful addition to a sewing room or market-stall display. It can hold pins, clips, needles, and small tools without becoming another pot on the desk. For Australian sewists, remnant fabric from an op shop or a local haberdashery is often enough to make the whole cover.
Choose a reliable weighted base
Plan the cushion at about 14 cm across and 7 cm high before cutting. These dimensions suit a small pincushion but leave room for a pocket at the front. A separate, washable inner pouch gives the base a controlled shape and prevents loose beads from reaching the outer fabric.
| Base filling | Stability | Best for | Practical note |
|---|---|---|---|
| Glass seed beads | Firm and even | A compact everyday cushion | Use a tightly sewn muslin pouch |
| Plastic craft beads | Moderate and light | A cushion that travels easily | Choose larger beads and pack firmly |
| Smooth metal washers | Very firm and heavy | A heavy-duty studio base | Fully enclose them and check for rust |
| Rice in a sealed pouch | Soft to medium | A low-waste temporary version | Avoid washing and test for leakage |
Small glass beads or plastic craft beads are the easiest all-round choices. For a roughly 12 cm base pouch, begin with around 100 grams, then add more only if the cushion moves when nudged. Australian craft shops commonly sell beads and notions in metric sizes, so a ruler and a kitchen scale marked in grams are useful.
Cut and assemble the base
Gather medium-weight woven cotton or linen for the cover, soft lining fabric, a little batting, interfacing, strong thread, and a needle with a large eye. A long pin, Wonder Clips, and a small pair of sharp scissors make the curved layers easier to manage. Online options such as Foldyouso sewing supplies can be useful for checking tools and notions before a shop trip.
Cut two 14 cm circles for the cover and two slightly smaller lining circles. Make the bead pouch from two 11 cm muslin circles, leaving a small turning gap. Sew around the edge, turn the pouch right side out, fill it with the chosen beads, and close the opening with ladder stitch or a tightly stitched seam. Test the pouch on the table before enclosing it.
Shape the upper cushion
Layer one outer circle, batting, and one lining circle with right sides facing out. Add a small circle of interfacing between the lining and batting if the fabric is soft. Stitch around the curved edge with a 5 mm seam allowance, leaving a turning gap. Clip the seam allowance at intervals, turn the shell through, and press lightly around the edge so the circle sits flat.
Position the closed bead pouch against the lower curve inside the shell, with its sealed edge just below the dividing line. Stitch across the cushion through the shell and pouch, creating a separate weighted compartment. Keep the beads away from the seam allowance, then add soft batting to the upper section until the crown feels comfortably full. Close the turning gap firmly.
Scale the design to suit the space on your sewing table, but preserve the balance between a firm base and a yielding top. The careful, measured thinking behind this project resembles garment alteration: this guide to adjusting a small bust explains how to redistribute shaping instead of simply reducing a pattern everywhere. Both tasks reward proportion rather than force.
Add pockets and personal details
A shallow front pocket is useful for clips, marking tools, or spare needles. Cut a strip of lining 10 cm wide and 5 cm deep, fold its upper edge, and stitch it to the lower third of the outer circle. Leave the sides open or finish them with a tiny binding to create two easy-to-reach sections.
For a wrist strap, fold a narrow strip of fabric in half lengthwise, enclose a length of elastic, and turn it to the right. Stitch both ends to the side seam, checking that the elastic is not too tight. A small woven or handmade label adds a neat finish and records the maker, while contrasting thread can define the curved seam without extra appliqué.
Fabric saved from a larger project can make the cover more individual. An existing Love Notions top can provide cotton or linen offcuts, and shortening the Ore shirt shows how a wearable garment can be reworked. Saving a usable panel for a pincushion keeps the project in the spirit of small-batch sewing.
Suit the cushion to Australian sewing spaces
Australian sewing rooms vary from compact apartment desks to shared studios, so the footprint matters as much as the weight. Haberdasheries commonly sell fabric by the metre, include 10% GST in shelf prices, and stock useful widths such as 110 cm and 140 cm. A 14 cm cushion fits comfortably beside most domestic machines without taking over the work surface.
Weekend craft markets in Sydney and Melbourne are a natural place to give one as a handmade gift. At a busy stall, a linen cover in a neutral colour or a bold scrap combination attracts attention, while the weighted base stops the cushion wandering as shoppers browse. Clear fabric labels and sturdy stitching also travel better than fussy embellishment.
Humid weather needs a little extra thought. In Brisbane and along the subtropical coast, lightweight interfacing can stop cotton and linen from bowing around the filled base. Op shops, remnant bins, and regional craft fairs are good local sources for odd pieces of cloth, while community sewing circles often welcome a small project that can be finished in one sitting.
Use the cushion without damaging your pins
Place the cushion where a hand naturally falls, usually just to the right of the needle or presser-foot area. Use the padded crown for straight pins and the side pocket for clips, and keep thicker dressmaking pins in a separate magnetic dish if they are likely to score the fabric. A blunt pin can scratch both the cover and your fingertips.
Lift used pins from the base rather than pushing them straight through a dense layer. Keep the bead pouch intact, empty the pocket occasionally, and rotate the cushion so one area does not become permanently crushed. For a decorative version, choose a washable filling and a removable inner pouch so the cover can be laundered when the fabric allows.
Build a cushion worth keeping
Check the bead pouch and all seams before every major sewing session. If a stitch loosens, repair it from the inside rather than stretching the opening. Label the underside with the fabric type and filling used, especially if the cushion travels to craft markets or belongs to a shared workspace.
A few design decisions will make the cushion more dependable:
- Use firm woven cotton or linen for the outer cover.
- Keep the weighted filling inside a separate stitched pouch.
- Add weight gradually and test the balance on the work surface.
- Use smooth beads that will not cut into the lining.
- Keep decorative trim clear of the pin-holding area.
- Label the base for future washing and repairs.
Made this way, the cushion combines a soft crown with a steady base and a pocket that earns its place. It is a useful studio accessory, a gentle handmade gift, and a small sewing project that can use the materials already waiting in a sewing basket.
Popular Pattern Reviews
| Pattern | Designer | Type | Highlight |
|---|---|---|---|
| Compose Robe (Kids) | Love Notions | Robe / Loungewear | Sizes 2T–16, cosy & practical |
| Tempo Sundress | Love Notions | Sundress | No closures, shirred back panel |
| Arlington Sweater | Love Notions | Sweater | Cold-weather staple |
| Sybil Illusion Skirt | Love Notions | Skirt (knit) | 7 variations, optional pockets |
| Camden Pinafore | Nina Lee Patterns | Pinafore dress | Year-round layering piece |
| Ogden Cami (dress hack) | True Bias | Cami / Dress | Versatile wardrobe builder |
| Burda 6829 | Burda | Dress | Multi-sized, special-occasion |
Stay in Touch
Subscribe to the newsletter for sewing inspiration, pattern tips, and project ideas delivered straight to your inbox.