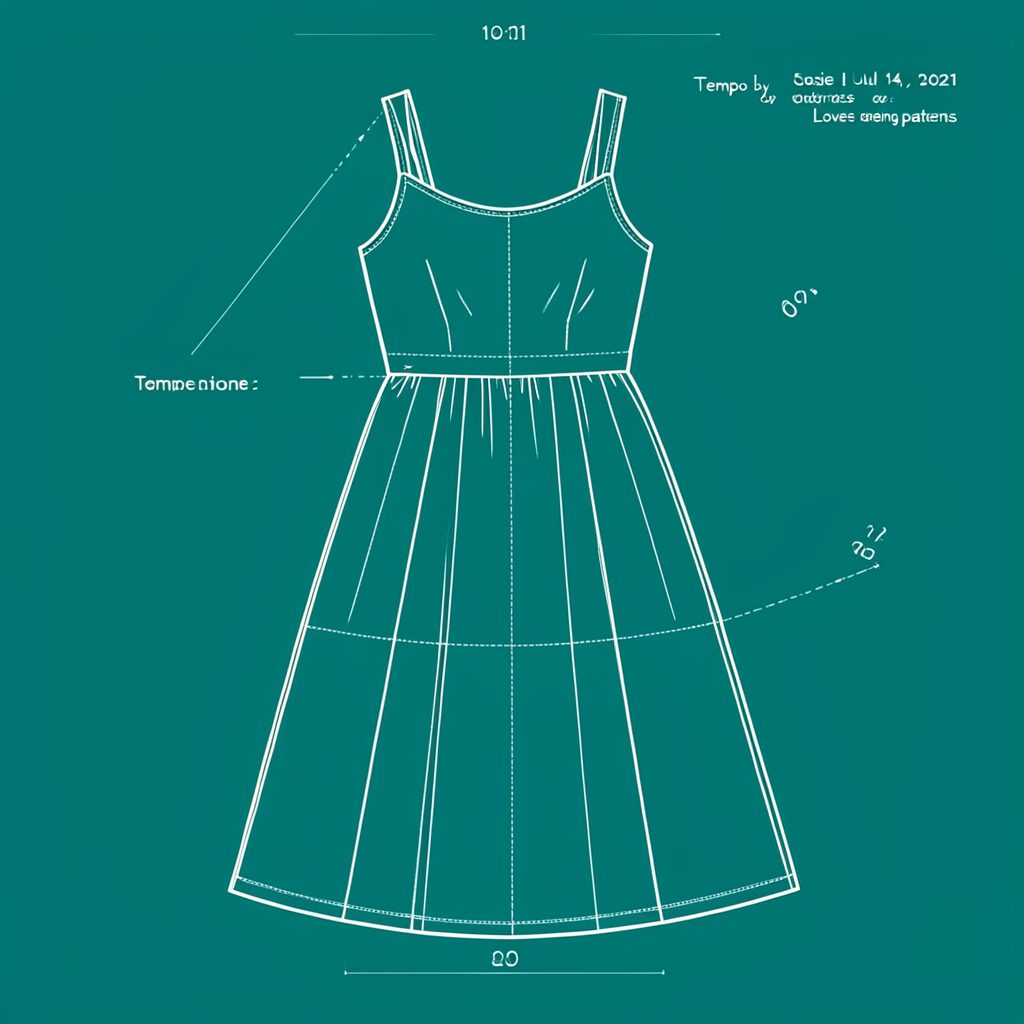
How to Make a Fabric Scrunchie with No Raw Edges
Scrunchies have a quietly persistent way of cycling back into wardrobes every few seasons, and they never quite lose their appeal. The difference between a scrunchie that looks homemade and one that looks boutique usually comes down to a single detail: how the seam is finished. A clean French seam fully hides every raw edge inside the fabric, giving the finished piece a smooth, slightly weighty feel that holds up through countless wears and washes.
The project is also a satisfying way to use leftover cotton from larger garment makes. Anyone with a small stash of quilting weight fabric can turn scraps into a stack of gifts in an afternoon. For sewists in Australia, Spotlight stores across Melbourne, Brisbane and Adelaide often run remnant sales where end-of-bolt pieces are sold by weight, perfect for batch-cutting scrunchies without a dedicated shopping trip.
Choosing fabric, elastic and tools
A scrunchie drapes best when cut from a fabric with a little softness but enough body to gather neatly. Lightweight cotton lawn, rayon challis or drapey viscose behave beautifully, while a stiffer quilting cotton produces a more structured piece that holds its shape inside a bun. In humid parts of the country, from Cairns to Darwin, breathable cotton is far kinder to the hairline than synthetic satin, while a silk or cotton-satin remnant feels like a small luxury during dry winter months.
Elastic is the next decision, and standard 6mm bra strap elastic works perfectly. Cut each piece to roughly 20cm before stretching, though the exact length changes how ruffled the scrunchie sits. A longer cut gathers tightly, while a shorter one creates a soft drape around the ponytail.
Before any cutting happens, it helps to check that the needle suits the fabric weight. Skipped stitches on a tightly woven cotton are often blamed on the pattern when the real culprit is a blunt or mismatched universal needle, so a quick read of choosing the right needle for your sewing machine saves a lot of unpicking later.
A short toolkit for the project looks like this:
- Rotary cutter or sharp fabric scissors
- Fine pins or small sewing clips
- A long safety pin for feeding the elastic
- Matching thread and a fresh needle suited to the chosen fabric
Cutting and sewing the enclosed seam tube
For a standard scrunchie, cut a strip about 50cm long by 10cm wide. The generous length gives the elastic plenty of room to gather without straining, while the width hides thick elastic cleanly when the scrunchie is worn. Lightweight fabrics can be cut closer to 11cm wide so the finished tube doesn't twist inside itself during the seam.
Press both short ends under by 5mm and then again by 1cm to create a double-fold hem that later disappears into the join. Pin or clip the strip right sides together along the long edges so the folded short ends point the same way, then sew a 6mm seam down the long open side. Trim this first seam allowance back to about 2mm and press the tube flat with the seam sitting to one side.
Turn the tube wrong side out by pushing one short end gently through the centre, much as you would when turning a strip of bias tape. Press the long seam flat again, then sew a second seam roughly 5mm from the fold on the right side, encasing the first seam completely inside the fabric. This double pass is the French seam that gives the scrunchie its clean finish, and the tube should now look nearly identical on both sides. Anyone who enjoys dressmaking will recognise how useful an enclosed seam is on cuffs and facings, and similar thinking appears in the love notions soho dress customizing the length post where sleeve and hem finishes matter just as much.
Threading the elastic and closing the join
Attach a safety pin to one end of the elastic and feed it through the tube, gathering the fabric gently along the way. A steady, relaxed pull works better than yanking, and resting the gathered fabric on the table keeps the tube from bunching into a knot. Both elastic ends should eventually emerge from the same short opening.
Overlap the elastic ends by about 1cm and join them with a tight zigzag or a few straight stitches back and forth. Pull on the joined elastic to feel the tension before clipping the threads, since an overly tight elastic pulls the scrunchie into a puckered oval and an overly loose one slips off a wrist mid-walk. This step feels just like inserting elastic into a waistband, only on a much smaller scale.
Tuck the joined elastic back inside the tube and adjust the gathers until they sit evenly all the way around. The two pre-pressed short ends now meet, and pressing them flat with a warm iron creates a neat envelope-style edge. Topstitch along this folded join from the right side at about 1mm from the edge, and the raw ends of both the elastic join and the fabric sit safely tucked inside the closed seam.
Comparing seam finishes at a glance
Different finishing approaches change the look, feel and longevity of a finished scrunchie, and the table below lays out the most common options so the trade-offs are easier to weigh.
| Finish | Raw edges hidden | Durability over time | Skill required | Best fabric match |
|---|---|---|---|---|
| French seam | Fully enclosed | High, even after many washes | Beginner-friendly once practised | Lawn, voile, quilting cotton, lightweight linen |
| Overlocked edge | Trimmed and bound | Medium, can feel slightly rough | Needs an overlocker | Jersey, knit, medium quilting cotton |
| Bias-bound seam | Wrapped, not sealed | Medium-high | Beginner-friendly with patience | Any fabric, especially loose weaves |
| Simple zigzag and turn | Partially enclosed | Lower, may fray with age | Easiest for first projects | Sturdy quilting cotton only |
For most projects, especially gifts and market stock, the French seam offers the cleanest, most reliable result.
Customisation, gifting and where to go next
Once the technique feels familiar, scrunchies become a brilliant handmade gift and a lovely market product. The seam quality is what makes shoppers trust the maker, which is exactly the kind of detail that sets handmade pieces apart from the plastic-packaged versions sold at chain chemists and variety stores.
A few thoughtful ways to use the method for gifting:
- Cut a coordinating strip from a beloved outgrown dress for a sentimental, memory-filled piece
- Pair a stack of three scrunchies with a small care tag and wrap them in a vintage tea towel found at an op shop in Sydney or Perth
- Use offcuts from a larger project so the scrunchie becomes a wearable swatch of a finished garment, much like an indie pattern tester might share
- Stitch a tiny hidden loop on the inside so the scrunchie can hang from a coat hook in the bathroom rather than disappearing into a drawer
Fellow maker Kat at Coles Corner and Creations shares lovely seasonal scrunchie variations throughout the year, including a charming set made from vintage feedsack fabrics. Anyone keen to see how the same clean-finish approach works on bigger projects can browse the pattern reviews and tutorials over at itisjosie.com, where garment makes sit comfortably alongside quick handmade pieces like this one.
The humble scrunchie remains a satisfying weekend make that rewards a little patience with a finish that genuinely looks shop-bought, and once the French seam is mastered it tends to find its way into lavender bags, sachets and small zip pouches around the home as well.
Popular Pattern Reviews
| Pattern | Designer | Type | Highlight |
|---|---|---|---|
| Compose Robe (Kids) | Love Notions | Robe / Loungewear | Sizes 2T–16, cosy & practical |
| Tempo Sundress | Love Notions | Sundress | No closures, shirred back panel |
| Arlington Sweater | Love Notions | Sweater | Cold-weather staple |
| Sybil Illusion Skirt | Love Notions | Skirt (knit) | 7 variations, optional pockets |
| Camden Pinafore | Nina Lee Patterns | Pinafore dress | Year-round layering piece |
| Ogden Cami (dress hack) | True Bias | Cami / Dress | Versatile wardrobe builder |
| Burda 6829 | Burda | Dress | Multi-sized, special-occasion |
Stay in Touch
Subscribe to the newsletter for sewing inspiration, pattern tips, and project ideas delivered straight to your inbox.