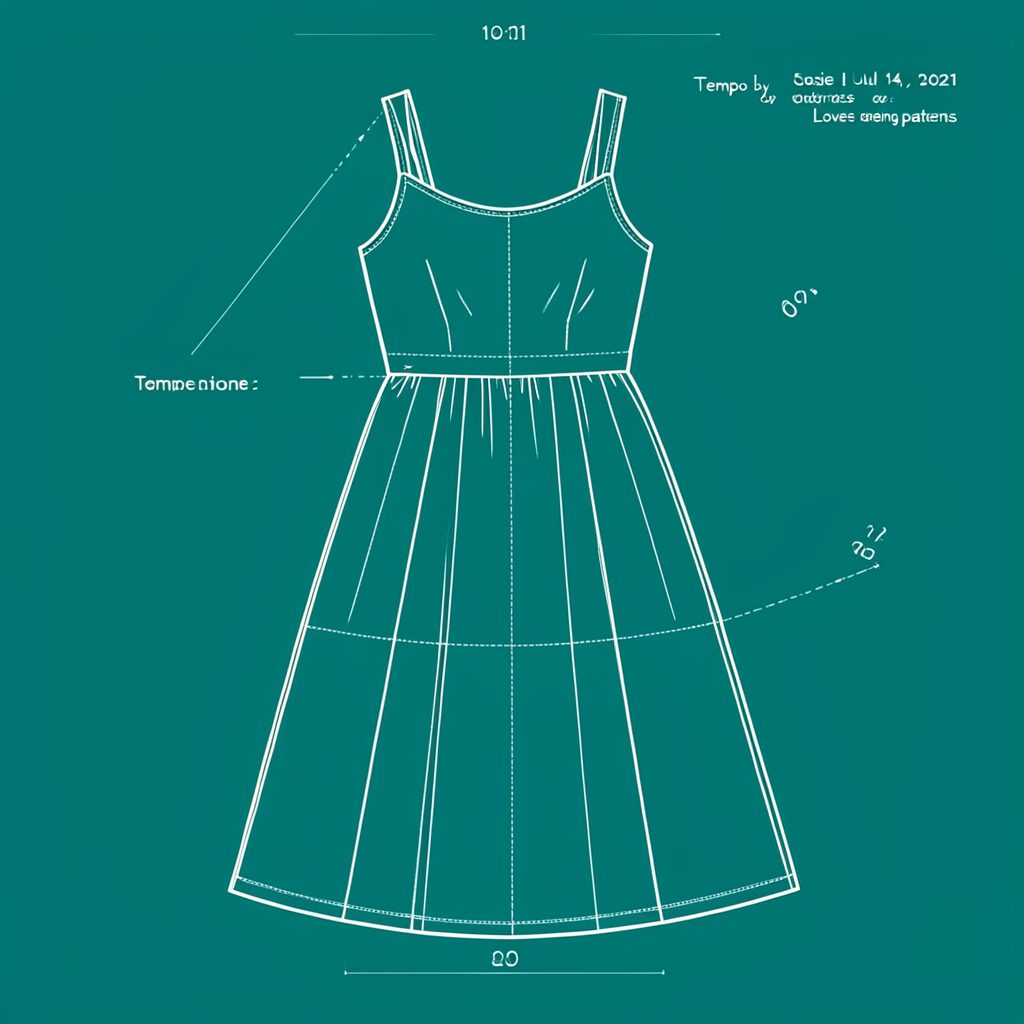
Sewing A Demure High Neckline On A Sleeveless Top
A high neckline can transform a simple sleeveless top into something polished, modest and surprisingly versatile. The right finish frames the face, gives a little extra coverage through the upper chest and creates a clean silhouette that works with linen trousers, denim or a full skirt.
This style suits warm-weather wardrobes particularly well. In Australia, a sleeveless high-neck top can feel cooler than a blouse with sleeves while still looking refined enough for an office in Melbourne, a lunch in Sydney or an afternoon gathering in Brisbane. The key is choosing breathable fabric and shaping the neckline so it sits comfortably rather than feeling tight.
The method works with a commercial pattern, an independent sewing pattern or a self-drafted bodice. You can raise an existing neckline, add a narrow facing or use a bias-bound edge, depending on the fabric and the finish you prefer. A careful pattern adjustment will make the sewing straightforward.
Choosing The Shape And Fabric
A demure neckline does not have to reach the base of the throat. A gentle jewel neckline, a shallow boat neck or a softly curved high scoop can all provide coverage without looking severe. Raise the centre front gradually, keeping the shoulder line and armscye unchanged unless you are deliberately redesigning the whole bodice.
Before cutting, check the finished neckline measurement against your own body. Place the pattern piece against yourself while wearing the bra or camisole you expect to wear underneath. A neckline that looks modest on paper may sit lower once seam allowances, bust shaping and posture are taken into account.
Light to medium-weight cotton lawn, cotton voile, linen blends and rayon challis are useful choices for an Australian wardrobe. Very crisp fabric can make a high neckline stand away from the body, while a fluid fabric may need a stable facing. For fabric shopping, Spotlight and independent fabric shops remain practical options, though online Australian retailers can offer a wider range of deadstock and natural fibres.
Prewash the fabric in the same way you intend to launder the finished top. This matters especially with linen and cotton, which can shrink enough to change the balance between the neckline and shoulder seams.
Adjusting The Pattern Without Losing Balance
Trace the front and back bodice pieces before making changes, preserving the original pattern. Mark the new neckline on the front with a smooth curve. At the centre front, raise the edge by approximately 3–6 cm, then blend the line towards the shoulder. The back neckline can be raised slightly as well, although it usually needs less alteration than the front.
Do not simply draw a straight line across the chest. A curved neckline follows the body more naturally and helps prevent gaping. If the original pattern has a dart or princess seam, keep the existing shaping intact. After redrawing the neckline, add the seam allowance and create a separate facing by tracing the top section of the bodice, generally 5–7 cm deep.
A sleeveless garment depends heavily on accurate armhole construction. If you later decide to convert the top into a cap-sleeve style, the guidance in this sleeve insertion guide is useful for preserving the armhole shape and easing the sleeve head neatly.
Make a quick toile from inexpensive cotton or an old sheet. Check the neckline while sitting, standing and reaching forward. Australian ready-to-wear sizing can vary considerably between brands, so a toile is often more reliable than assuming your usual size will have the right neckline depth.
Selecting A Neat Neckline Finish
A shaped facing is the most structured option for a high-neck sleeveless top. Stabilise the facing with lightweight fusible interfacing, sew it to the neckline with right sides together, then trim and clip the seam allowance. Understitching keeps the facing rolled towards the inside and stops it becoming visible from the outside.
Bias binding is excellent for lightweight linen, lawn and rayon. Cut the binding from the same fabric or a smooth contrast, and keep it narrow enough to follow the curve. For a clean result, sew one edge to the neckline, press the seam allowance towards the binding, then fold it inside and stitch close to the folded edge.
| Finish | Best suited to | Advantages | Points to watch |
|---|---|---|---|
| Shaped facing | Cotton, linen blends, stable woven fabric | Structured and polished | Needs interfacing and understitching |
| Bias binding | Fine linen, lawn, rayon | Light, flexible and low bulk | Can stretch during sewing |
| Self-fabric neckband | Knit fabrics | Quick and comfortable | Requires accurate stretch percentage |
| Double-fold hem | Very stable lightweight fabric | Simple and minimal | May look uneven on a curved edge |
If you are working with a knit, use a neckband rather than a woven facing. Measure the neckline after sewing the shoulder seams, calculate the band using the fabric’s stretch, and join it into a loop before attaching it. A band that is too long will gape; one that is too short can pull the shoulder seams forward.
For visual ideas on neckline proportions, construction details and independent pattern aesthetics, browse La Modista de Atenea alongside your usual sewing references. Comparing several finished garments can help you decide whether a narrow stand, broad facing or softly curved edge best suits your style.
Sewing The Sleeveless Bodice Cleanly
Sew the shoulder seams first and stay-stitch the neckline and armholes as soon as the pieces are joined. Stay-stitching is especially important on linen and rayon because curved edges can stretch while being handled. Use a short stitch length only where needed; excessive short stitching can make the edge difficult to press smoothly.
Apply the facing or binding with the garment flat and avoid pulling the neckline towards the machine. Stitch with the neckline uppermost if that gives you better control, and use a fine needle for lightweight fabric. Trim bulky seam allowances, grade the layers and clip into the curve without cutting through the stitching.
Small Details That Improve The Finish
- Press each stage from the wrong side using a pressing cloth.
- Match the shoulder seams before securing the facing.
- Tack the facing to side seams with a few discreet stitches.
- Check that the armhole and neckline remain symmetrical.
Finish the armholes after completing the neckline. You can use a narrow bias facing, turned hem or self-fabric binding. The armhole finish should be consistent with the neckline so the garment looks intentional. Keep the seam allowances slim, particularly under the arm where extra bulk can become uncomfortable in hot weather.
Try the top on before closing the facing at the shoulder or side seam, depending on your construction method. Look for rippling, tightness across the collarbone and any tendency for the garment to rotate. If the neckline feels restrictive, unpick only the front section and lower the curve by a small amount rather than redesigning the entire bodice.
Styling And Wearing The Finished Top
A high-neck sleeveless top works beautifully with wide-leg trousers, tailored shorts and high-waisted skirts. In Australia, breathable linen pants can make the look practical for a warm Adelaide day, while a denim jacket or lightweight cardigan adds coverage during cooler evenings in Hobart. Neutral shades such as cream, navy and olive make the style easy to combine, but a floral cotton or bright solid can give it a distinctly handmade character.
For workwear, choose a neckline that lies close to the body without touching the throat. A clean facing and pressed shoulder line create a professional finish, while a longer hem can be tucked into a skirt without exposing the midriff. For weekend wear, leave the top loose over jeans or pair it with a gathered skirt for a softer silhouette.
Final Checks Before The First Wash
- Inspect the neckline in natural light for uneven curves.
- Confirm that bra straps remain covered during movement.
- Test the garment with your intended layering pieces.
- Wash and press it before making any final hem adjustment.
Keep notes about the pattern alteration, fabric width and finished neckline depth. These details make it easier to repeat the design or adapt it for another fabric. Josie’s sewing projects and pattern-focused resources at It Is Josie can provide further inspiration when you are planning a coordinated handmade wardrobe.
A demure high neckline is a small design change with a substantial effect. With a balanced pattern adjustment, a stable edge and patient pressing, a sleeveless top can look elegant, comfortable and thoroughly wearable across the Australian seasons.
Popular Pattern Reviews
| Pattern | Designer | Type | Highlight |
|---|---|---|---|
| Compose Robe (Kids) | Love Notions | Robe / Loungewear | Sizes 2T–16, cosy & practical |
| Tempo Sundress | Love Notions | Sundress | No closures, shirred back panel |
| Arlington Sweater | Love Notions | Sweater | Cold-weather staple |
| Sybil Illusion Skirt | Love Notions | Skirt (knit) | 7 variations, optional pockets |
| Camden Pinafore | Nina Lee Patterns | Pinafore dress | Year-round layering piece |
| Ogden Cami (dress hack) | True Bias | Cami / Dress | Versatile wardrobe builder |
| Burda 6829 | Burda | Dress | Multi-sized, special-occasion |
Stay in Touch
Subscribe to the newsletter for sewing inspiration, pattern tips, and project ideas delivered straight to your inbox.