A twin-needle T-shirt neckline with a professional finish
Sewing a T-shirt neckline with a twin needle turns a functional seam into a neat, stretch-aware topstitch. Two parallel needles puncture the jersey at once and share one bobbin thread, creating the paired lines associated with commercial T-shirts while allowing the neckline to flex with the body.
A twin needle does not replace an overlocker or coverstitch machine. It is an inexpensive way to secure an enclosed neckline edge, cover a folded seam allowance or add a polished decorative line. The result depends on stable jersey, careful band preparation and a machine set up so neither needle skips or drags.
Choose the pattern, jersey and neckline band
Start with a pattern whose neckline matches your intended fit. A close-fitting T-shirt needs enough stretch for the neck to pass over the head; a relaxed shape may use a wider band or a soft jersey with good recovery. Love Notions offers tee and sweatshirt patterns with several neckline shapes, and Josie’s sewing project library provides a useful place to compare indie designs before cutting.
For Australian weather, cotton jersey, cotton-modal or a cotton-rich blend with a small amount of elastane works well for everyday shirts. Independent fabric shops around Melbourne commonly stock light and medium jersey weights, while Brisbane’s humidity and heavily air-conditioned rooms can make knit fabric behave differently between washing and sewing. Let the fabric acclimatise and test its stretch and recovery rather than choosing only by weight.
Match the neckline band to the jersey. Use rib knit with similar stretch and fibre content for a conventional T-shirt, following the pattern’s length and width. For a fold-over binding, choose a softer jersey strip that can lie flat without adding bulk.
Prepare the fabric and neckline edge
Wash and dry the jersey as you intend to wear the finished shirt, then cut it on the straight grain. Most Australian sewing patterns use metric measurements, but check each pattern’s finished neckline and ease rather than assuming the sample size matches your measurements. Cut a generous scrap from the same fabric for needle and tension tests.
Support the neckline with the stay tape or stabiliser recommended by the pattern. Keep it light enough to move with the jersey, and apply it to the wrong side without stretching the fabric or flattening its elasticity completely. A discarded cotton tee from a Sydney op shop can be opened up to study its construction, while remnants from local makers’ markets can provide useful test pieces.
Press the band and garment pieces before joining them. Use low heat, a cloth and steam rather than forcing thick ribbing into a sharp crease. For a conventional band, fold the ends and secure them with a stretchy seam; for fold-over binding, press the strip around the raw neckline edge and enclose it completely.
Set up the twin needle correctly
Use a twin needle designed for your machine and fabric. The needles must be the same length, type and size, with the spacing fixed by the twin-needle unit. A 2 mm spacing suits a narrow topstitch, while 4 mm can cover more of a folded allowance, but both points must remain in the garment or band. A ball-point needle, often around 70/9 for fine jersey, helps prevent holes; follow the machine manual for compatibility.
Fit the twin needle with the correct holder or cap, then thread each needle separately. Position the points parallel and tighten the holder only enough to secure it. Do not pull the upper threads hard against the needle plate, because excessive tension can pucker jersey and cause skipped stitches. Wind and insert the bobbin as usual.
Before touching the garment, sew several lines on the prepared scrap. Check the front and reverse for loops, puckering, needle strikes and loose edges. Talk About Fabric’s fabric selection advice is helpful when judging weight and stretch, but the scrap test remains the final check for needle size, tension and stitch length.
Compare the available edge finishes
Several methods can produce a clean neckline, but they solve different construction needs. The most useful choice depends on whether the raw edge is already enclosed, how much stretch the seam needs and which machines are available at home.
| Finish | Equipment | Appearance and stretch | Best use |
|---|---|---|---|
| Twin needle | Domestic machine and compatible twin needle | Two parallel straight stitches with a firm topstitch | Covering a folded allowance or decorating a stable neckline |
| Single-needle topstitch | Any domestic sewing machine | One clean line with less visual depth | Quick topstitching on very light jersey |
| Mock coverstitch | Domestic machine with zigzag | Narrow flexible stitching that imitates a coverstitch | Stretch seams when no twin needle is available |
| Flatlock | Overlocker or flatlocker | Flat enclosed seam with a visible join | Sporty shirts with panelled or exposed construction |
A twin needle is ideal when the neckline band is already secure and all raw edges are folded inward. It gives the controlled parallel detail of commercial jerseywear without requiring another machine. For a highly stretchy neckline, join it with a narrow zigzag or overlocked seam first, then use the twin needle only for the final topstitch.
Stitch the neckline and secure the raw edge
Pin the band to the neckline at the shoulder seams, matching the centre front and back. Ease the curve evenly without stretching it away from the body. Sew the joining seam with a narrow zigzag, a stretch stitch or an overlocker if you have one; this seam should flex, while the twin-needle topstitch can remain comparatively firm.
Turn the band to the inside and fold the garment’s raw seam allowance beneath it. Topstitch from the inside of the band, close to the folded edge, so both needles pass through the band and body. With a fold-over binding, enclose the raw edge and topstitch from the outside instead. Test the needle position because the band, folded allowance and twin needle must not create a lumpy ridge.
Sew at about 2.5 to 3 mm stitch length, backstitching at each end. Work slowly around the curve while keeping the band flat; do not pull it taut to compensate for a mismatch. Remove the work only after the threads are secured, then press from the wrong side with light steam. Keeping notes of the needle width, size and settings helps when making another shirt, and Josie’s sewing blog provides further context for indie sewing choices.
Troubleshoot, wash and label the finished shirt
If the twin needle skips, replace it rather than tightening the tension. Check that the needles are fully inserted, threaded in the correct direction and suitable for knit fabric. A damaged or mismatched needle can cut fibres and leave permanent holes, so use the same correct needle type on both sides.
Puckering or rippling usually points to excess upper-thread tension, a stretched band or a needle spacing that has fallen onto a thick seam. Release the tension, press the seam allowance flat and repeat the test on scrap. If the two lines look uneven, compare their position with the edge of the band; the problem may be the fold rather than the machine.
For home sewing, record the fibre content and wash instructions so the shirt can be cared for properly. If you sell finished garments through local markets or Australian online marketplaces, check the current federal textile-labelling requirements and the Australian Consumer Law before ordering labels. Fibre and performance claims must be accurate, and commercial products may need compliant fibre-content and care information. A stable band, fully enclosed raw edge and even twin-needle line will keep the neckline smooth through repeated washing and wearing.
Popular Pattern Reviews
| Pattern | Designer | Type | Highlight |
|---|---|---|---|
| Compose Robe (Kids) | Love Notions | Robe / Loungewear | Sizes 2T–16, cosy & practical |
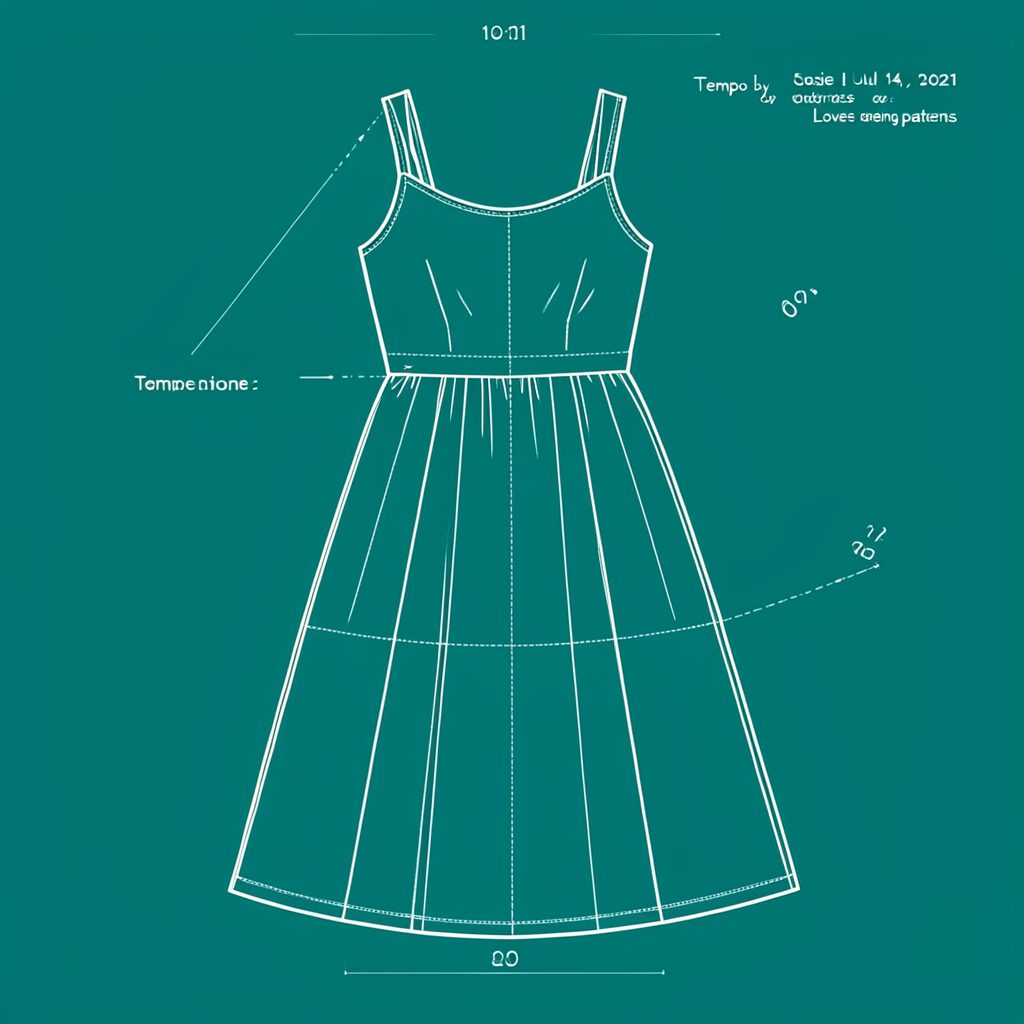
| Tempo Sundress | Love Notions | Sundress | No closures, shirred back panel |
| Arlington Sweater | Love Notions | Sweater | Cold-weather staple |
| Sybil Illusion Skirt | Love Notions | Skirt (knit) | 7 variations, optional pockets |
| Camden Pinafore | Nina Lee Patterns | Pinafore dress | Year-round layering piece |
| Ogden Cami (dress hack) | True Bias | Cami / Dress | Versatile wardrobe builder |
| Burda 6829 | Burda | Dress | Multi-sized, special-occasion |
Stay in Touch
Subscribe to the newsletter for sewing inspiration, pattern tips, and project ideas delivered straight to your inbox.