DIY fabric wall organiser with pockets for small notions
A DIY fabric wall organiser turns an unused strip of wall into an accessible home for the things that disappear during a sewing session. Thread spools, clips, pins, tape measures, snips and marking tools can each have a defined pocket, so the work surface becomes calmer and the tools are easier to find. The project suits a confident beginner and rewards careful planning from an experienced sewist.
Small apartments in Sydney, Melbourne, Brisbane and Adelaide often make space the first design question. A slim organiser can hang beside a sewing table without crowding a room, while a removable version can move with a renter or a temporary craft corner. Measure the available wall, the door swing and the depth of nearby shelves before choosing the finished dimensions.
Australian conditions also shape the materials. Cotton and linen blends handle changing weather better than heavy furnishing fabric, while sturdy canvas gives small notions support. Check for strong daylight and summer heat near west-facing windows, especially in Sydney, Brisbane and Adelaide, because fading and softened adhesives can shorten the life of a fabric organiser.
Home sewing has a healthy local market, from independent pattern designers and neighbourhood quilt shops to weekend craft markets and online stores shipping within Australia. If you make organisers to sell, the Australian Consumer Law under the Competition and Consumer Act 2010 applies: product descriptions, safety claims and consumer guarantees must be accurate, even when the maker is working from home.
Plan the layout around your sewing habits
Start with the things you reach for most often, rather than trying to accommodate every small tool. A 30-centimetre-wide panel can hold a tape measure and several narrow notions; a 45-centimetre version can carry a sheathed rotary cutter, chalk and a folded ruler without hiding them. Sketch the pockets at actual size and group tall items separately from shallow ones so nothing tips forward when the organiser is used.
A muslin or scrap-fabric mock-up catches proportion errors before they reach the final panels, and testing a muslin layout is especially useful when adapting a pocket size from an existing bag. Add a little ease at the top of open pockets, but keep their depth below the point where tools would strike the wall.
Several everyday materials suit different pocket loads, so compare structure, drape and care before buying a long piece.
| Material option | Structure and drape | Best pocket use | Australian care note |
|---|---|---|---|
| Cotton canvas | Firm, crisp and moderately heavy | Spools, rulers and frequently used tools | Machine washable, but line dry to reduce shrinkage |
| Cotton-linen | Soft with a natural texture | Pens, chalk and lightweight notions | Press while slightly damp for crisp seams |
| Cotton drill | Stable yet easy to fold | Deep pockets and reinforced seams | Washable and widely sold by the metre |
| Denim | Very sturdy and hard-wearing | Heavy supplies, clips and cutting tools | Slow to soften; prewash if the panel will be washed |
For a first build, medium-weight cotton canvas or drill gives useful structure without turning the organiser into a stiff board. Add 1.5-centimetre seam allowances unless the chosen pattern specifies otherwise, and include a 2-centimetre hem allowance around the lower edge.
Choose fabrics for Australian conditions
Fabric weight should match the contents. Linen makes attractive shallow pockets for pencils and seam rippers, but it can sag under a row of thread spools. Cotton canvas holds a ruler upright, while a quilted lining protects delicate notions from rough metal edges. A cotton lining also reduces see-through gaps and gives the pockets a neat finish.
Fabric shopping in Australia is convenient: Spotlight carries sewing basics, while independent quilt shops often stock distinctive cottons, linens and interfacing chosen for local makers. Online indie designers can supply unusual weights through Australian postal services, and local craft markets reward sewists with small remnants at accessible prices. Buy the yardage, or metre, after making a paper pattern so every cut can be placed efficiently.
Choose colour with the room in mind. Pale fabric suits a minimalist craft corner but shows chalk dust and thread fluff quickly, while a medium print can disguise marks. Keep the main panel lighter than the pocket bindings if you want the construction details to stand out. Avoid relying on colour alone to identify storage zones; discreet labels work better after the organiser has been filled and used.
Cut clean panels and shaped pockets
Press the fabric before cutting, then use a rotary cutter and mat for straight edges. Align the grain with the side of the main panel so the organiser hangs flat, and cut several small strips from the leftover cloth for bindings. A tailor’s chalk or washable pencil is easy to see on cotton canvas and can be removed with a damp cloth after construction.
Shaped pockets need accurate curves, sharp corners and consistent seam allowances. The careful handling shown in sewing a bow collar is useful here: keep the clipped curves small, stitch slowly and press each seam before joining the pocket to the panel. Add triangular corner extensions if the pocket mouth is wider than its base so the edges sit flat.
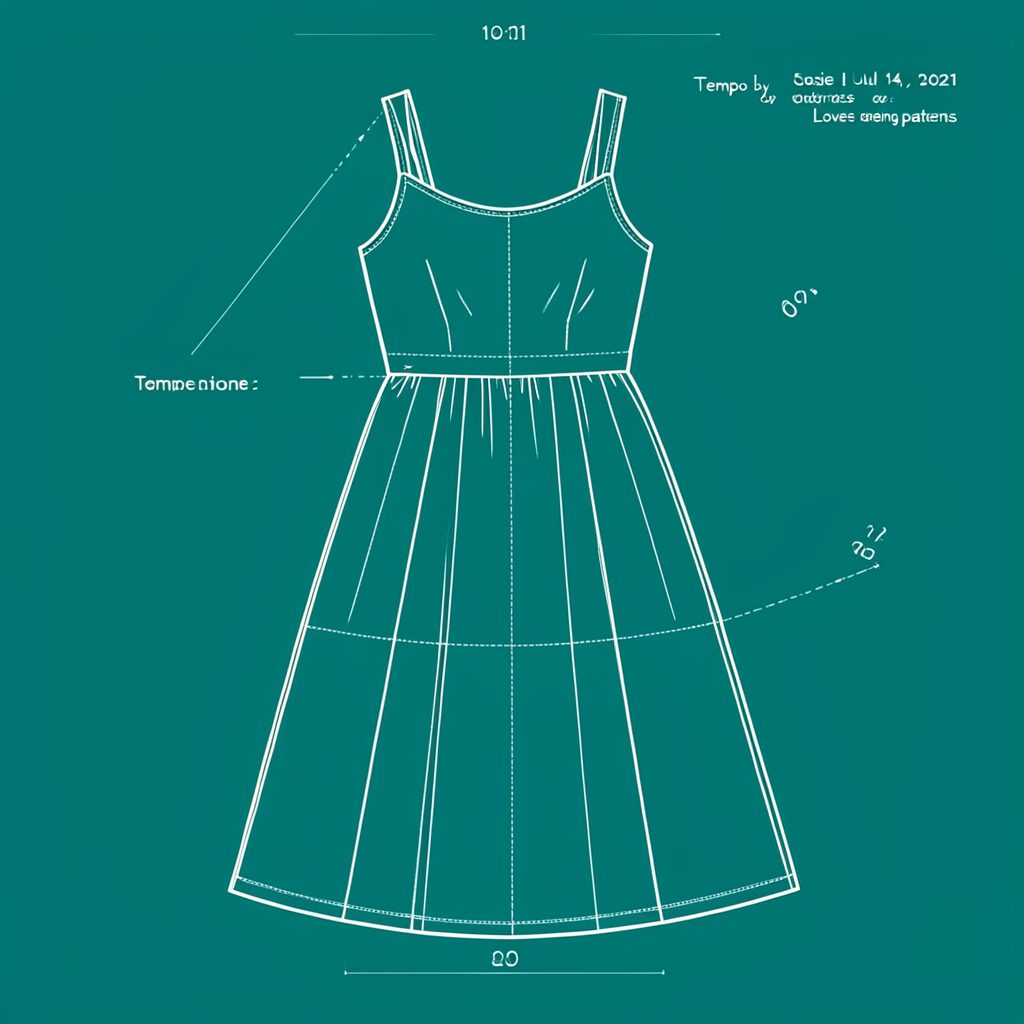
Love Notions and other independent sewing patterns often use clear construction markings, yet every pattern still needs to be read as a set of parts rather than a single outline. Transfer pocket labels and alignment marks to the fabric, then check them against the cut pieces. If the pattern gives no seam allowance, measure the finished pocket on a sample before committing to the main fabric.
Build structure with practical interfacing
Lightweight fusible interfacing behind each pocket prevents corners from curling and helps the mouths remain visible. Use a sew-in interfacing when the fabric is linen, loosely woven or likely to be washed frequently. Keep the interfacing just short of the opening so the pocket can flex, and trim it neatly around the seam line to avoid ridges.
A stretch-fabric pocket can be useful for elastic loops or soft bias tape, although it should not carry heavy notions. For that optional detail, twin-needle finishes on knits shows how parallel topstitching can secure a neat edge on knit fabric. Test the setting on a scrap first because tension and pressure vary between machines.
Reinforce the pocket bases and the points where the hanging tabs meet the panel. Short rows of dense stitching, or small bar tacks, distribute the load without making the front look overworked. Keep hard objects away from the upper corners, where they can work against the wall and push the pocket away from the fabric.
Hang it securely in a compact space
There is more than one practical mounting method. A timber batten fixed to studs suits a permanent sewing room; removable hooks or a sash rod suit renters and shared creative spaces. On tiled or brick veneer walls, use the fixings specified for the surface rather than forcing screws into a joint or adhesive alone. Ask a landlord before making permanent holes or applying strong removable strips.
For a removable hanging system, sew wide cotton webbing tabs to the top corners, add metal D-rings and thread the rings onto a rod. The tabs should be wide enough to spread the weight, and their seams need to sit directly above the pocket-bearing panel. A deep wooden rail can also hang from a curtain track, provided the track is rated for the load and the organiser does not obstruct a window.
Load the finished organiser gradually and check that no pocket pulls the top edge away from the wall. A photo and the intended pocket loads are useful details to include when you email Josie about the build. The finished weight should be carried by the fixings and tabs, not by adhesive residue or a single narrow ring.
Sort notions and add the finishing details
Assign each pocket a clear job: one row for thread, another for clips, and a wide section for rulers, snips or a rotary cutter. Small elastic loops can hold frequently used marking tools, but loose pins need a closed compartment or a firm bound loop that cannot open. Clear vinyl labels make the organisation visible while keeping the design restrained.
The logic resembles building a themed kit: gather related parts, arrange them by function and leave irrelevant pieces out. The same restraint works for sewing storage. A pocket that contains three frequently used items is more useful than one packed with tools needed only once a year.
Bind the exposed pocket edges with bias binding, or stitch them twice for a neat finish. Topstitch the main panel’s perimeter and add hanging tabs before the final press. For an organiser intended for sale, include a simple care note with the fibre content and washing guidance, and describe the dimensions and load limits honestly in the listing.
Care for the organiser according to the fabric and interfacing used, and inspect the hanging fixings whenever the wall gets bumped. A labelled, balanced wall organiser then becomes a dependable part of the sewing room, keeping essential notions visible without adding another crowded box to the work area.
Popular Pattern Reviews
| Pattern | Designer | Type | Highlight |
|---|---|---|---|
| Compose Robe (Kids) | Love Notions | Robe / Loungewear | Sizes 2T–16, cosy & practical |
| Tempo Sundress | Love Notions | Sundress | No closures, shirred back panel |
| Arlington Sweater | Love Notions | Sweater | Cold-weather staple |
| Sybil Illusion Skirt | Love Notions | Skirt (knit) | 7 variations, optional pockets |
| Camden Pinafore | Nina Lee Patterns | Pinafore dress | Year-round layering piece |
| Ogden Cami (dress hack) | True Bias | Cami / Dress | Versatile wardrobe builder |
| Burda 6829 | Burda | Dress | Multi-sized, special-occasion |
Stay in Touch
Subscribe to the newsletter for sewing inspiration, pattern tips, and project ideas delivered straight to your inbox.