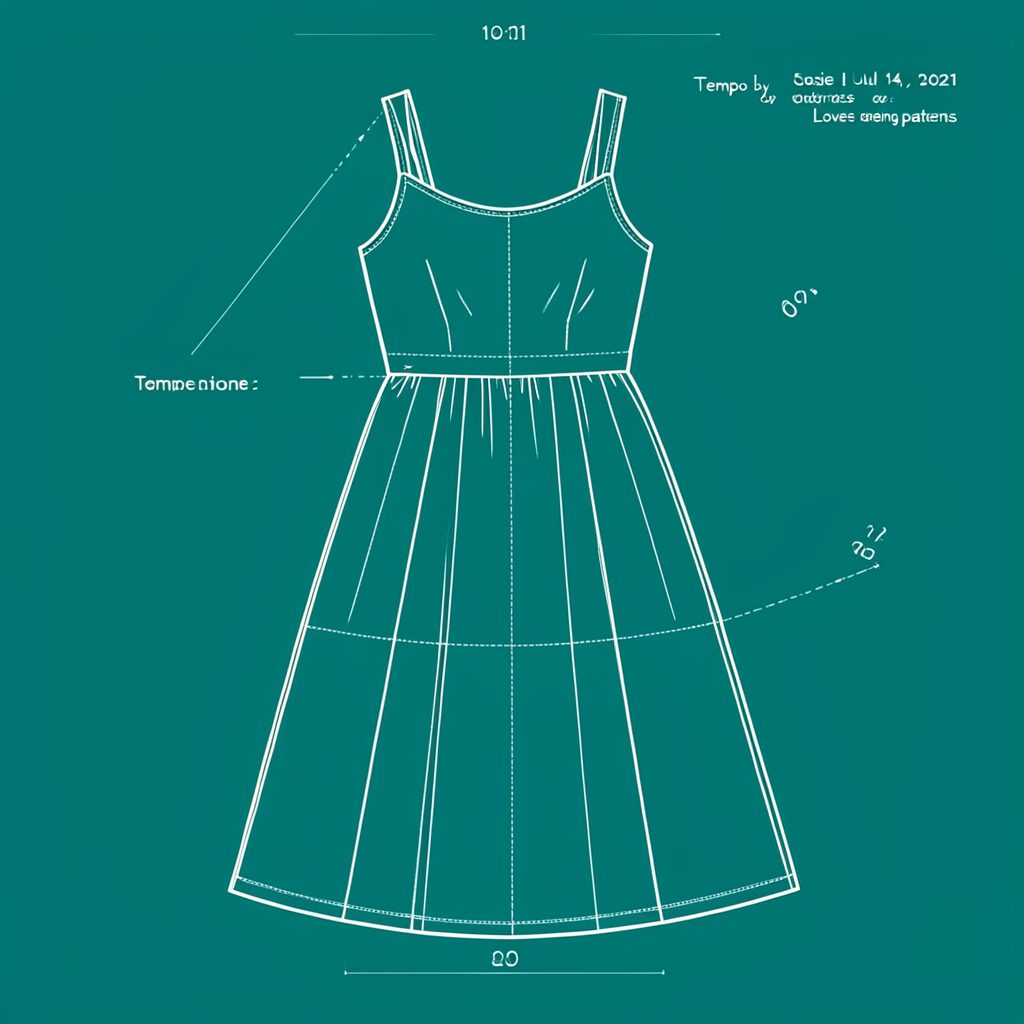
Sew a partial button placket on a blouse
A partial button placket is a short, buttoned section that begins at a blouse neckline and stops partway down the front. It gives a clean opening for the top buttons without continuing all the way to the hem. That makes it especially useful for soft blouses with gathered fronts, camp collars, shallow V-necks or stand collars, where a full-length placket can feel stiff and heavy.
Choose a pattern that already defines the shape of the short placket and its facing. A garment drafted for a different neckline may not interchange easily, because the neckline curve, shoulder seams and collar all influence how the opening sits. Independent patterns from Love Notions and other small designers often include useful construction notes, so read those before cutting fabric.
Lightweight woven cotton, voile and linen blends are comfortable choices for Australian weather: they suit humid summers in Sydney and Brisbane, while a blouse can still be layered over a shirt in cooler Melbourne. Use a fabric with enough body to hold a neat band. A jersey that stretches strongly will be difficult to keep straight unless the pattern specifically allows it.
Before sewing, work out the finished width, length, button spacing and closure type. A band around 25 to 35 mm wide is common, but the pattern is the authority; the length depends on the neckline and whether the blouse closes below the placket. Gather the thread, interfacing, small buttons and matching thread before separating the pattern pieces, then press each stage as you go.
Choose a pattern and fabric
Pattern selection is easiest when you can try on or compare a sample. Look for a blouse whose front opening is actually short, rather than assuming every button-front blouse uses this method. If a design has a full placket, it can sometimes be shortened above the waist, but changing the neckline and facing without redrafting can leave an awkward gap or a bulky collar.
For inspiration beyond the pattern envelope, the site’s broader pattern and project notes are handy. If your chosen blouse also has a gathered sleeve, puff sleeve insertion shows a separate way to shape that detail without changing the placket. At Australian fabric markets and shops such as Spotlight, buy a small length first and press a scrap; many lightweight cottons move or glaze differently after handling.
Mark the placket with confidence
Measure the blouse and mark it on the pattern rather than relying only on the size label. Australian patterns are generally sold in metric sizes, and actual garment measurements are often more useful than a nominal size. Transfer the centre-front line and neckline points with a fine pen or tailor’s chalk, then mark the band’s finished edge and the intended lower end.
Plan the button positions before reaching the machine. Measure upward from the lower button so it will not pull the neckline when fastened, and space the remaining buttons evenly. Test any buttonhole setting on scrap fabric. If you want more support while learning, the beginner sewing guides can help with choosing interfacing, pressing tools and a simple closure sequence.
Prepare the neckline and facing
Cut the front, facing and any under-neck facing pieces with the grain running parallel to the centre front unless the pattern says otherwise. Add lightweight fusible interfacing to the wrong side of the placket facing if the fabric is soft or the blouse will be worn open. Press the interfacing into the seam allowances rather than onto the neckline curve.
Next, staystitch the curved neckline if the pattern directs it, clip tiny notches into the seam allowance, and remove pins one at a time while easing the curve. Wide, blunt notches can leave visible ridges near the throat. Press the neckline facing away from the centre front so it remains flat and does not pull the short opening out of alignment.
Fold a clean button band
The button band is the part that makes a partial placket look deliberate rather than like a cropped full placket. Use the facing supplied with the pattern, or cut a long strip at the required length. If you make the strip yourself, its width must allow both the finished band and the allowance that will be enclosed when the front edge is attached.
Press the strip into a crisp band, with the intended visible edge folded toward the wrong side. Follow the pattern’s seam allowance exactly. When a facing reaches the neckline, distribute any slight fullness with tiny pleats or easing stitches instead of stretching the strip, then press it again. This is particularly important on a curved neckline.
Stitch the enclosed raw allowance close to the fold, turn the band to the right side and use a short understitch to secure the inner edge. Do not press a hard crease across a delicate voile; use a warm setting and a pressing cloth. Leave the lower end unfinished until the band has been joined, because the pattern may require it to end cleanly at a seam.
Join the band to the blouse
Join the band to the edge of one front piece with right sides together, matching the neckline and the lower mark before sewing. Keep the centre-front line straight and ease the facing around the curve if necessary. Press the seam toward the blouse, then turn and understitch the band so the finished edge lies flat without pulling toward the neck.
On the opposite front, follow the pattern for the overlap: it may extend over the band at the neckline and release below the final button, or it may remain separate from shoulder to hem. Place both fronts on the body before sewing the lower edge to check that they can meet or hang as intended. If the instructions are unclear, trace the intended overlap onto the pattern first.
Finish the hem and set the closures
Complete the blouse’s collar, shoulder seams and side seams in the order given by the pattern. Many designs expect the placket to be in place before the collar is set, so the collar can sit over the top button without bunching. Check that the neckline edge is not pulling away from the body and that the band remains parallel to the centre front.
A neat lower edge balances the detailed neckline. For a crisp finish on a regular domestic machine, twin-needle hemming is useful; follow the fabric’s pressing requirements and test the stitch width first. Alternatively, enclose the raw edge with a clean single-fold hem. Keep the finished hem even around the front opening, as a shallow curve can expose an uneven edge.
Make buttonholes after the blouse is assembled and the band is final. Cut them to the length needed for the chosen button, including its shank, then sew the buttons in the marked positions. Australian craft markets are good sources for small 10 to 15 mm buttons in natural shell, wood or painted finishes. For more maker-led ideas, Coles Corner and Creations offers another place to explore sewing projects and notions.
Check the fit and compare approaches
Try the blouse on before the final press, preferably over the undergarment and trousers you normally wear. Stand in front of a mirror and fasten every button without tugging. The neckline should lie flat, the band should not twist, and the blouse should hang from the shoulders rather than being held up by the closure.
A stable fit depends on decisions made early, so use these checks:
Before sewing
- Confirm the pattern includes the partial band, facing and closure placement.
- Press a scrap to test shine, shrinkage and fold quality.
- Match interfacing and thread weight to the fabric.
- Mark the centre front and finished band edges.
At the fitting
- Check that the band lies flat from neckline to the lowest button.
- Fasten the blouse without pulling the centre front together.
- Make sure the collar rests smoothly over the neckline.
| Feature | Partial button placket | Full-length button placket |
|---|---|---|
| Best suited to | Blouses needing movement below the neckline | Shirt styles intended to fasten from neck to hem |
| Construction | A short band with facing and a few closures | A continuous band and a longer button sequence |
| Visual effect | Relaxed, soft and lightly gathered | Structured and uninterrupted |
| Main fitting check | The neckline stays flat while the lower front hangs freely | Both fronts align accurately along their full length |
Choosing the pattern’s finished dimensions rather than improvising them keeps the short opening balanced. When the band lies flat, the closures meet without strain and the lower front hangs naturally, the construction looks polished from the collar to the hem.
Popular Pattern Reviews
| Pattern | Designer | Type | Highlight |
|---|---|---|---|
| Compose Robe (Kids) | Love Notions | Robe / Loungewear | Sizes 2T–16, cosy & practical |
| Tempo Sundress | Love Notions | Sundress | No closures, shirred back panel |
| Arlington Sweater | Love Notions | Sweater | Cold-weather staple |
| Sybil Illusion Skirt | Love Notions | Skirt (knit) | 7 variations, optional pockets |
| Camden Pinafore | Nina Lee Patterns | Pinafore dress | Year-round layering piece |
| Ogden Cami (dress hack) | True Bias | Cami / Dress | Versatile wardrobe builder |
| Burda 6829 | Burda | Dress | Multi-sized, special-occasion |
Stay in Touch
Subscribe to the newsletter for sewing inspiration, pattern tips, and project ideas delivered straight to your inbox.