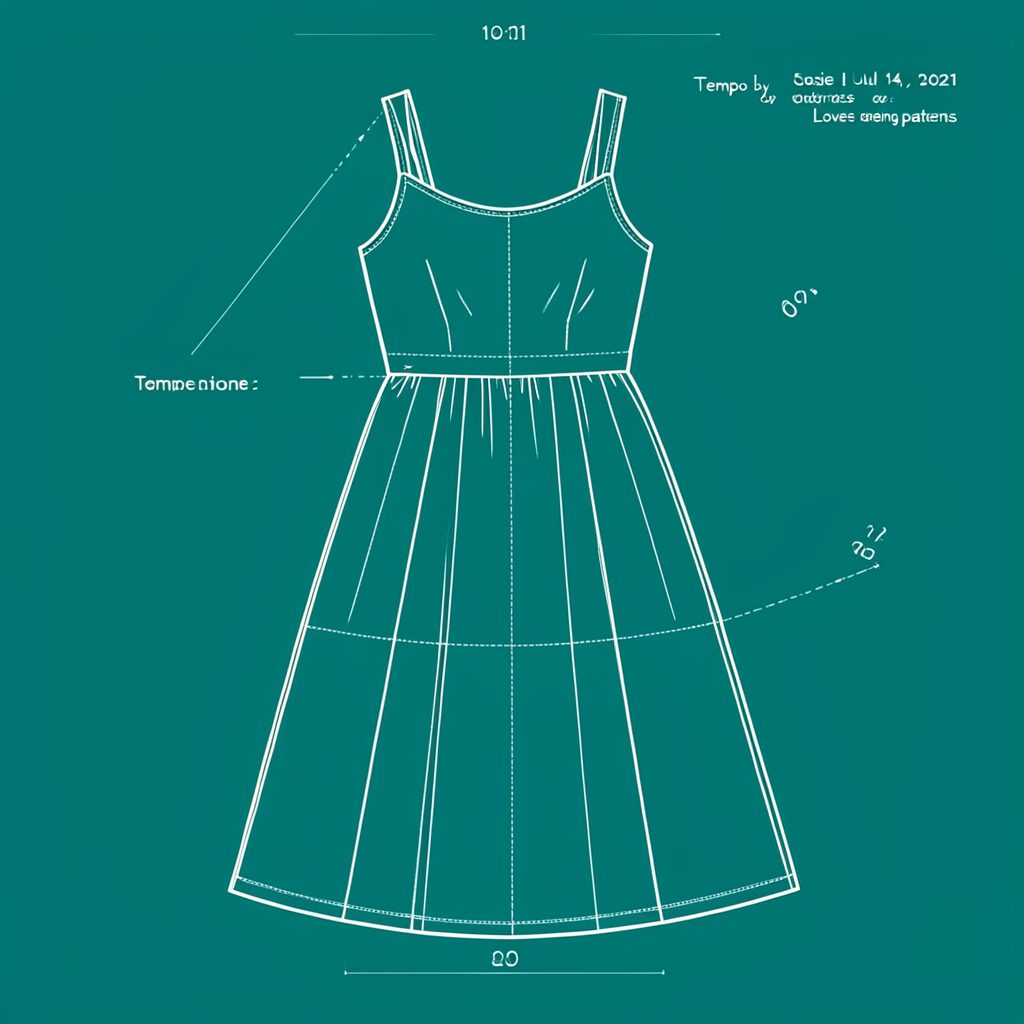
Adding a Centre Back Zip to the Love Notions Covington Skirt
The Love Notions Covington skirt is a pattern I reach for whenever I want something that looks considered but doesn't eat an entire weekend. It is drafted as a wrap-front skirt: the panels cross over at the front, a soft pleat gives the waist some movement, and a wide waistband ties at the side so the fit can adjust itself. There is no zip, no hook and bar, no button at the back, and for plenty of wearers that is exactly the appeal. Wrap skirts are forgiving, they cope with a waist that changes week to week, and they never need ironing into submission.
For other sewists, though, that same ease turns into a daily irritation. Ties that need redoing every morning, overlapping panels that gape when you cross your legs, a skirt that has to be wound into place rather than simply stepped into. Adding a centre back zip turns the Covington into a conventional skirt that closes flat at the back, while keeping the wrap front and the flattering pleat exactly where they were designed to sit.
It is the modification I am asked about more than any other, so I have written it up properly here: when it suits your body and your fabric, how to open out the back seam allowance, how to set a zip that sits flat without pulling, and how to keep the lining and waistband tidy afterwards. If you are new to indie patterns, the wider notes I keep on my sewing blog explain how I test and adjust patterns before I commit fabric to them.
Why the Wrap Closure Frustrates Some Wearers
There are practical reasons to move the closure. A wrap skirt asks for two hands, and if your grip is limited — arthritic fingers, a recent injury, a baby on your hip, or simply a full day of typing — a tie you cannot manage one-handed becomes a reason to wear something else. In our house the Covington was originally made for a skirt with no back closure at all, and it was the first warm day of the Australian summer that convinced me to add one.
A zip also relocates the tension. With a tie waistband, all the pulling happens at the side knot, which is why wrap skirts can ride up and why the waistband often needs a good deal of ease built into it. With a centre back zip, the closure takes the strain and the waistband can sit flatter and firmer. The overlap at the front can stay as generous as the pattern intends, and the skirt no longer needs retying between breakfast and lunch.
The trade-offs are honest ones. It is extra work, it needs a zip and a placket, and a badly set zip will ruin an otherwise lovely skirt. But the result is a garment that behaves like a normal skirt on the tram to work in Melbourne or on a humid afternoon in Brisbane, and it opens up the Covington for anyone who wants a lined, office-appropriate version rather than a casual wrap.
Getting the Right Fabric and Notions
Fabric choice matters more than usual once you add a closure. Medium-weight cotton drill, denim, and linen blends all work; jersey and slinky polyester do not, because they will not hold a placket without a lot of coaxing, and the pleat will collapse into a mess. A zip also adds a little structure, so if you are used to sewing the Covington in something light and fluid, expect the drape to change. I favour cotton drill from Spotlight for summer versions, and a heavier denim if I want the skirt to hold its shape through a wet season.
Plenty of good cloth arrives second-hand here, and that is where I find my most interesting options: the denim and cotton remnants at Paddy's Markets in Sydney, or the stallholders at Queen Victoria Market in Melbourne who sell offcuts by the kilo. Second-hand denim can be stiff, so wash and press it before cutting, and check for old stitch holes near the fold.
Notions are simple: a 20 cm skirt zip, fusible interfacing cut on the bias for the placket, matching thread, and a zip foot for the machine. Love Notions prints the pattern in inches while most of us work in centimetres, so convert before you cut and keep a 30 cm ruler beside the pattern rather than relying on eyeballing. If you are between sizes, take the smaller one — it is far easier to let out a waistband seam than to fight a zip that will not close. For a second opinion on the pattern itself, La Moda de Atenea has reviewed the Covington too and the comparison is worth reading.
Altering the Centre Back Seam
The modification is mostly about the back seam. Take your pattern out, fold it so the centre back sits on the fold, and mark the length of your zip down from the waistband seam line — around 20 cm for a 20 cm zip. Measure from the top of the waist seam rather than from the natural waist, because the waistband usually sits a couple of centimetres higher, and remember that the finished skirt will be cut slightly lower still.
Next, open out the centre back seam allowance. Cut the pattern along the seam allowance line down to the bottom of the zip length, then add a straight 1.5 cm at the top edge and at the bottom, so you have a flap wide enough to fold into a placket and to catch the zip at the hem end. If your zip is longer than the skirt's back panel, extend the pattern rather than shortening the zip; a shortened zip looks fine but will catch on your underwear.
Interfacing does the real work here. Cut two strips of fusible interfacing, one for each side of the opening, tapering the ends so they do not create a stiff ridge at the hem. Fuse them to the wrong side of the fabric, then trim the seam allowance down to about 1 cm along the opening so the finished placket is neat and slim. As always with indie patterns, I buy my own copies and test the modifications myself, which is why the notes on my disclosure page spell out exactly what is my own work and what comes from the designer.
Fitting the Zip and Rebuilding the Waistband
Baste before you sew. Run the zip up the right side with a few generous basting stitches, close the skirt and check the fit on the body — I pin it while wearing the skirt, with the wrap front pinned shut, because that is how you will wear it. Most of the fitting happens in the waist: if the back gapes, take the ease out of the centre back rather than adding darts, and if the waist feels tight over the zip, release a centimetre or so from the waist seam.
Easing is where inexperienced sewists go wrong. The skirt's centre back is usually slightly more curved than the zip, so the second side needs to be eased on, not stretched. Use a walking foot, switch to a shorter stitch length, and stop every few centimetres to check that the seam is still lying flat. Never pull the fabric to match the zip; the fabric should meet the zip with the curve distributed evenly. Once the basting is right, replace it with a proper stitch, press the seam open, and topstitch the placket down if you want the usual crisp finish.
The waistband then needs attention. If your skirt has a separate waistband, you can either set the zip into the seam and keep the side ties purely decorative, or extend the waistband to cover the top of the zip. The second option looks tidier and stops the closure from gaping at the top, and it takes very little extra fabric.
Finishing, Pressing and Making It Wearable
Line the skirt if you are making a polished version, and set the lining into the zip as well so it does not pull away from the closure. Hang the lining on the zip, give it a little slack so it can sit higher in the waist, then hem it to match the outer hem finished length. Press the whole thing from the inside, work the seams with your fingers first, and only then take it to the iron. Do not press the zip itself.
For care, I wash my cotton drill versions in cold water on a gentle cycle and line dry them in full sun, which keeps the crisp cotton looking sharp without an iron — useful when the laundry basket is already full. Denim versions I wash rarely and hang out. If you make a natural linen version in Queensland humidity, expect it to soften and crease, and lean into it rather than fighting it.
Every project starts as an idea and ends as something you actually wear, and this one has been worn more than any other pattern in my drawer. If you have added a centre back zip to your Covington, or you have attempted it and hit a snag, I would genuinely like to hear how it went — the contact page is open, and photos of your finished skirt are always welcome.
Popular Pattern Reviews
| Pattern | Designer | Type | Highlight |
|---|---|---|---|
| Compose Robe (Kids) | Love Notions | Robe / Loungewear | Sizes 2T–16, cosy & practical |
| Tempo Sundress | Love Notions | Sundress | No closures, shirred back panel |
| Arlington Sweater | Love Notions | Sweater | Cold-weather staple |
| Sybil Illusion Skirt | Love Notions | Skirt (knit) | 7 variations, optional pockets |
| Camden Pinafore | Nina Lee Patterns | Pinafore dress | Year-round layering piece |
| Ogden Cami (dress hack) | True Bias | Cami / Dress | Versatile wardrobe builder |
| Burda 6829 | Burda | Dress | Multi-sized, special-occasion |
Stay in Touch
Subscribe to the newsletter for sewing inspiration, pattern tips, and project ideas delivered straight to your inbox.