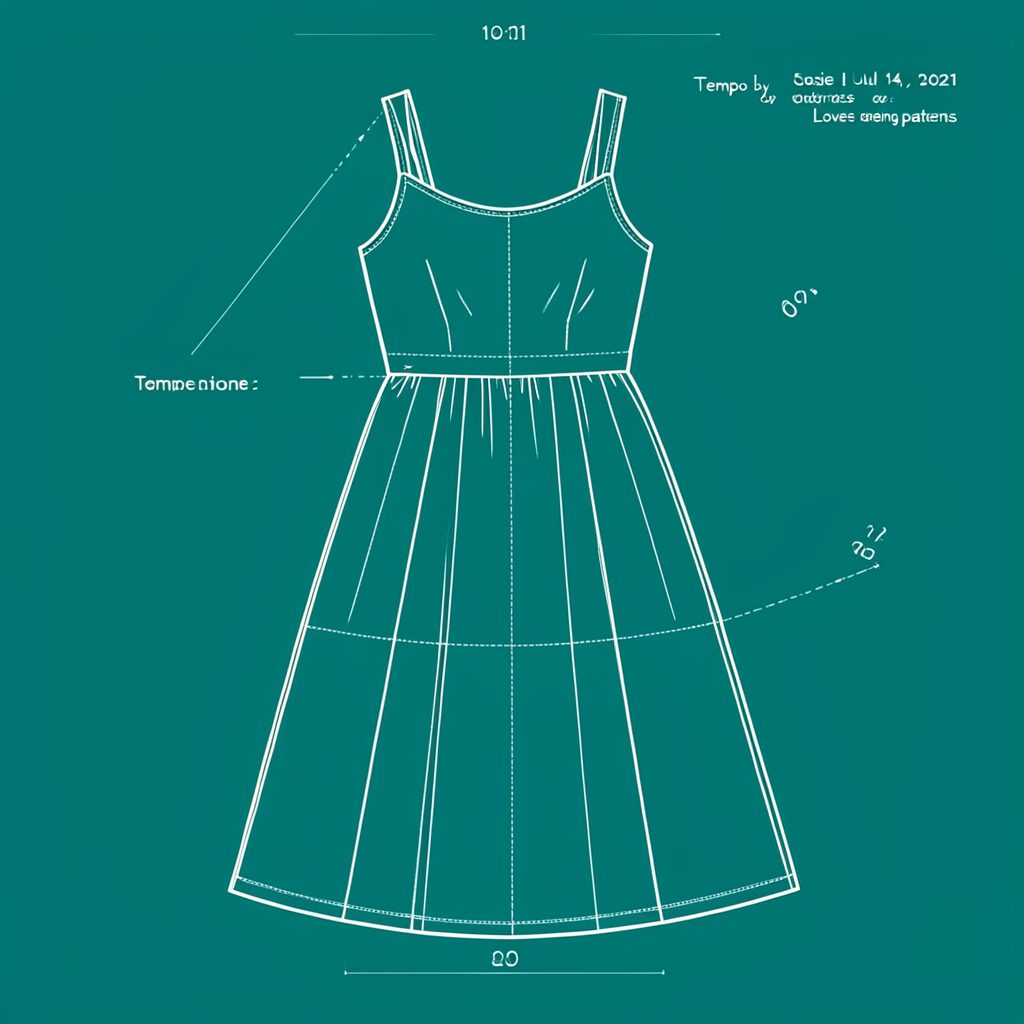
Adding a Half Zip Front to the Love Notions Premiere Sweater
The Love Notions Premiere Sweater is the pattern I reach for most often in my sewing room, and every version has started life as a straightforward crew neck. I've made it in sweatshirt fleece, in a soft ponte, and once in a chunky ribbed knit that turned into a wearable blanket. The crew neckline is reliably flattering and quick to sew, but it left me wanting one thing: a way to close the neck a little further without committing to a full zip that changes the whole garment. A half zip front gives you that middle ground, running from the neckline down to the centre chest and finishing in a neat stand.
This is a conversion guide rather than a fresh pattern, so I'll walk through exactly where I added the zip, which zip I used, and how I kept the knit from stretching out of shape. Plenty of my readers sew in Australia, so I've included notes on sourcing patterns and fabric locally, the differences between metric and imperial cutting, and the care labelling rules you need if you plan to sell anything you make.
What a Half Zip Front Changes About the Silhouette
The first thing a zip front does is add a vertical line down the centre of the body, and that single line changes how the whole sweater reads. With the crew neck, the eye travels across the shoulders and out to the sleeves. With a half zip, the eye moves down the placket, and the stand at the neck frames the face rather than sitting flat against it. It is a small change structurally and a large change visually, which is why I think it is worth the extra steps.
Climate matters here more than it does in the UK, where I do most of my sewing. Australian winters are short and often mild, but indoor air conditioning in summer offices and shops is fierce, and most of my Melbourne, Brisbane and Perth readers spend half the year layering up and down through a day. A half zip lets you vent heat without stripping the jumper off entirely, and a short zip sits neatly over a collared shirt or a tee without the bulk of a full-length zip pulling the hem out of line. A full zip on this sweater would also fight the curved hem of the pattern; a half zip follows the body's centre line and behaves.
The other shift is in tone. With the zip closed at the throat and the stand standing up, the Premiere Sweater stops reading as a cosy sweatshirt and starts reading as something smarter. That is why I keep the top of the zip a good centimetre or two above the original neckline: it gives the stand enough height to hold its shape in a knit rather than collapsing flat.
Choosing the Zip and the Placket Approach
Separating zips, also called open-ended zips, are the right choice for a neckline, because the slider can be undone completely so the garment passes over the head without stretching the neck. Closed-end zips cannot be opened, and they are useless here. I buy mine as open-ended separating zips in 40 cm, 50 cm and 55 cm lengths, which covers most sizes plus the extra height needed for the stand.
Lengths are worth thinking about carefully because the pattern is drafted in inches. One inch is 2.54 centimetres, so a 20 inch zip is just over 50 cm, and you want to add a little for the stand and the seam allowance. Measure the finished length on your own body first, from the centre front neck point down to the point where you want the zip to end, then buy the next size up and trim the excess. Buying the wrong length is the most common mistake I see, and it is easy to fix only before you cut the fabric.
There is also the matter of where the zip comes from, and this is where a trip to the op-shop is genuinely useful. Oxfam and Red Cross shops in Melbourne, Sydney, Adelaide and Perth are full of secondhand jumpers with lovely zips already sewn in, and the tape is soft, washed and the right weight for a knit. Harvesting a zip from a donor jumper gives you a matched length and a tape that already moves with the fabric. Alternatively, a ready-made half zip placket takes all the fiddly work out of it, at the price of a fixed placket width.
Four routes work well, depending on how much fuss you want:
| Approach | Difficulty | What you need | The result |
|---|---|---|---|
| Ready-made half zip placket | Easiest | Bought-in placket and zip | Quick and reliable, but the placket width is fixed |
| Separating zip sewn onto a drafted placket | Intermediate | Separating zip, knit interfacing, facing strips | The cleanest finish and full control of length |
| Zip rescued from a donor jumper | Intermediate | Secondhand jumper, separating zip, patience with the tape | Soft, lived-in tape in a matching length |
| Two-way zip with a drafted stand collar | Advanced | Two-way zip, cut-on stand collar, facing | Dressier and worth it if you want a real collar |
A word on patterns and sponsorship, since it comes up often in my inbox. I buy every Love Notions pattern I use myself, and I keep a running record of anything sent to me, gifted or paid for on the full disclosure page so you always know where a recommendation is coming from before you spend your own money.
Sewing the Front: From Cutting to Topstitching
The Premiere Sweater is cut on the fold at the centre front, so the first job is to open it up. I mark the centre front with a ruler and chalk, then cut the slit from the centre front neck point down to the length I want the zip to cover. Below that point the fabric stays continuous, which is what gives the finished sweater its solid body. The two raw edges that come out of that slit become the placket edges, and they need to be stabilised or the knit will grow every time you handle the piece.
I stabilise with a knit or washi fusible interfacing along both placket edges. Never use woven interfacing on a sweater like this: it stays stiff after washing, and the ripple that creates is much harder to fix than a slightly soft neckline. Then I cut two placket facing strips from the same fabric, each one the length of the zip plus the neck depth, with a seam allowance on three sides. The zip tape is sewn to the facing first, right sides together, the facing trimmed back to the inner edge of the tape, and the whole assembly turned and pressed so the tape sits flat and open.
The facing is then sewn to the placket edges of the front, leaving the neck opening clear, and the neckline is neaten with a narrow stretch stitch or a narrow zigzag if you do not have an overlocker. I press with steam after every seam, because steam is what relaxes the knit back into shape, and I do not stretch the placket while I work, which is much easier to say than to do. Topstitching the placket down with a twin needle, or a single needle set to a longer stitch length, gives the flat, stable finish that makes the front look like it was drafted that way all along.
The back neck needs attention too. Either add a matching stand band to the back so the two sides meet neatly, or let the back drop lower than the front for a deliberate, slouchy line. I tried the lower back first and liked the result less than the matching band, though it is an easy change to make if you prefer it.
Sewing the front in one sitting takes most of an afternoon, so I keep lunch simple: sandwiches and a flask of tea, packed into reusable snack bags made from waterproof fabric, which wipes clean and survives being crushed in a sewing bag.
Fabrics, Local Markets and Australian Sewing Realities
Fabric choice matters more for this conversion than for the sweater as drafted. Ponte and French terry behave beautifully because they have about 25% stretch and enough weight to hold a stand collar upright. Lightweight jersey is trickier: below roughly 20% stretch the placket will ripple, and above 40% the neckline will grow noticeably after a wash. Sweatshirt fleece is the easiest of all, since it hides topstitching and forgives a slightly uneven placket.
Most of my Australian readers buy locally, and the Australian fabric shops are excellent for this project. Spotlight stores carry a wide range of sweatshirt fleece and ponte by the metre, The Fabric Depot in Sydney stocks heavier knits and unusual weights, and Melbourne's fabric shops around High Street in Richmond are good for jersey if you want to compare stretches in person. You will pay roughly $12 to $18 a metre for sweatshirt fleece, and buying one extra metre for the facing strips and a second band for the back neck is sensible, because the leftover goes into a matching beanie or a lined pocket.
Patterns are the other half of the cost. Love Notions is American, so the PDFs are priced in dollars, while Australian indie labels such as Westalee Designs and Made by Wil publish in Australian dollars and support local makers, which takes some of the sting out of a project budget. Buy the PDF and print at home if you have a printer, or use your local library's print service, which is cheaper than a high-street print shop for a full set of pieces.
The local market is where the fun part happens. At makers' markets such as Melbourne's Rose Street Artists' Market, or the Sunday craft fairs in Brisbane and Adelaide, a hand-finished zip sweater sells for several times what the fabric cost, and buyers notice the details: a flat placket, a matching back band, a neat label. I have shared a stall with a neighbour who sells jars of homemade smoky ketchup made from surplus garden tomatoes, and the pairing of a handmade jumper with a handmade food gift works remarkably well at a stall table.
If you sell what you make, the legal side is straightforward but easy to forget. The Australian Competition and Consumer Commission's mandatory care labelling standard for clothing and footwear means a swing ticket needs fibre content and a wash symbol, so your finished sweater should carry an honest label rather than an invented one. You may also want to know about the textile recycling trials run by Opal in New South Wales and the council clothing drop-off points appearing in more Australian suburbs, since a jumper you no longer want can now be recycled rather than binned.
Care, Repair and Practical Recommendations
Washing is where handknit-looking jumpers often disappoint. I wash mine inside out in cold water with a gentle wool detergent, no tumble on fleece, and I dry them flat and reshape them while damp. Stored folded rather than on a hanger, a zip sweater keeps its stand collar for years. A fabric shaver removes the pills that form along the centre front where the zip rubs against the tee underneath, and it is the single most useful tool in my drawer.
Zips fail more often than seams. A broken slider can usually be reattached with a pair of pliers, and if the teeth have separated the whole zip can be unpicked from the placket and replaced with a new one, which is far easier than redoing the front. Keeping one spare open-ended zip in the same length as your finished placket means a repair takes twenty minutes instead of a weekend.
A few things I would tell my past self before starting:
- Measure the finished zip length on your body, not on the pattern, and buy one size up from that.
- Use an open-ended separating zip so the neckline passes over the head without stretching.
- Stabilise the placket edges with knit interfacing only, and resist the urge to use the woven interfacing already in your sewing box.
- Buy two zips in the same length: one to sew with and one spare, because a zip is the one notion you cannot replace in a hurry.
- Sew with a ballpoint needle and a walking foot, and press with steam after every seam rather than at the end.
- Neaten the raw neck edge with a narrow stretch stitch or bind it, then topstitch the placket flat before you call it finished.
- Add a fibre content and wash symbol label if the sweater is going to a market stall.
Mine came out of the pile after a final press, and it is the version I wear most often now: the zip half open over a tee, the stand just grazing the jaw, and the sleeve length exactly as the pattern drafted it.
Popular Pattern Reviews
| Pattern | Designer | Type | Highlight |
|---|---|---|---|
| Compose Robe (Kids) | Love Notions | Robe / Loungewear | Sizes 2T–16, cosy & practical |
| Tempo Sundress | Love Notions | Sundress | No closures, shirred back panel |
| Arlington Sweater | Love Notions | Sweater | Cold-weather staple |
| Sybil Illusion Skirt | Love Notions | Skirt (knit) | 7 variations, optional pockets |
| Camden Pinafore | Nina Lee Patterns | Pinafore dress | Year-round layering piece |
| Ogden Cami (dress hack) | True Bias | Cami / Dress | Versatile wardrobe builder |
| Burda 6829 | Burda | Dress | Multi-sized, special-occasion |
Stay in Touch
Subscribe to the newsletter for sewing inspiration, pattern tips, and project ideas delivered straight to your inbox.