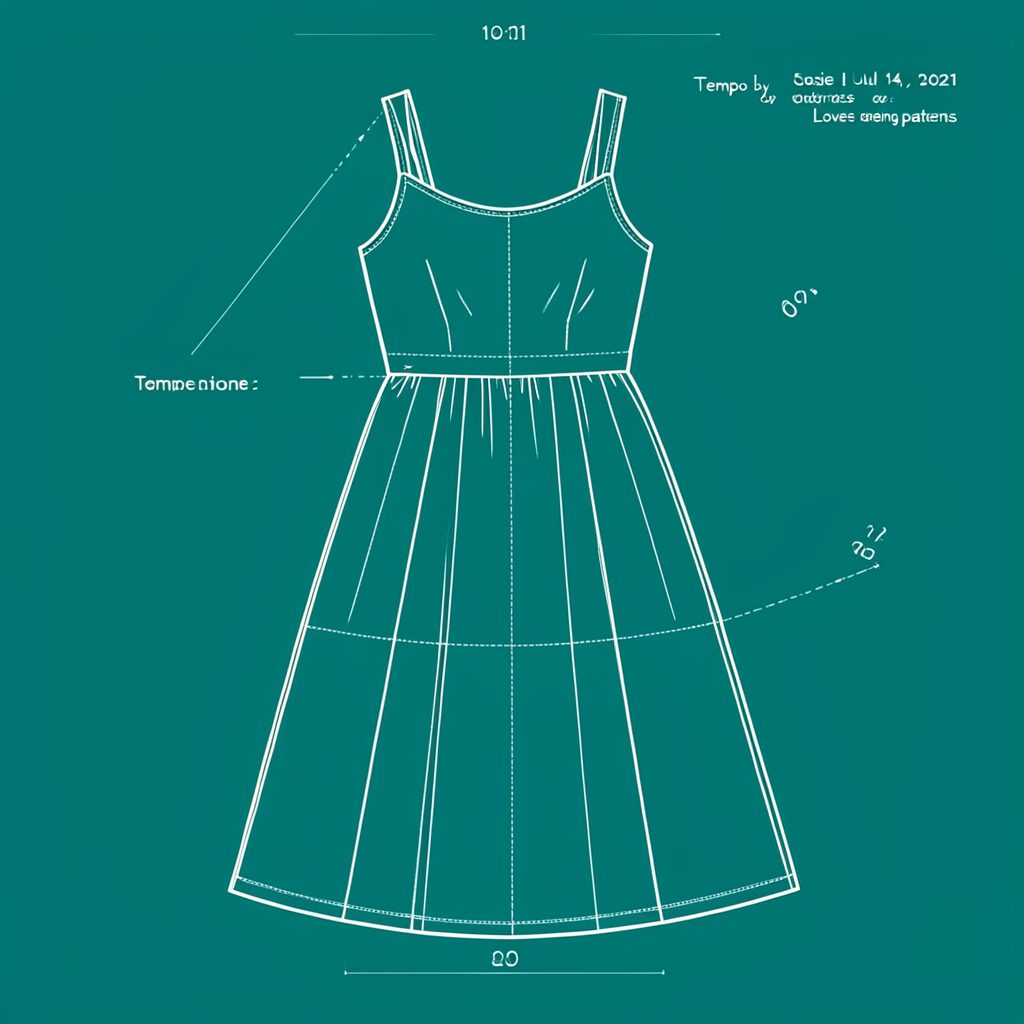
Love Notions Replete Tunic: Lengthening into a dress
The Love Notions Replete Tunic has the sort of relaxed shape that invites a second life. I wanted to test whether it could be lengthened into a dress while keeping the comfortable neckline and easy movement that made the tunic appealing. Rather than treating the change as a complete redesign, I kept the upper body substantially as drafted and concentrated the alteration around the lower edge.
That approach produced a dress suited to real wardrobes rather than a dramatic fashion exercise. A tunic can work over trousers, while a longer version can stand alone with leggings, boots or a belt. The key is to decide the finished length before cutting, because an extra few centimetres can alter the balance at the waist, hip and hem far more than the pattern name suggests.
A Tunic With More Possibilities
Start by choosing one clear destination for the finished garment. I aimed for a relaxed midi length that could pass casual offices and daytime outings, but the same method can create a knee-length dress or a longer everyday tunic. Try on the base garment and mark where you want the final hem to fall on your body, not merely where it falls on a dress form.
Lengthening changes visual proportions because the body becomes the dominant vertical line. Keep the neckline, armholes and shoulder area stable where possible, and avoid adding so much below the hip that the upper section looks boxy. Before committing, compare the planned silhouette with garments already in your wardrobe; familiar clothes are more reliable guides than an isolated sketch.
Finding the Right Base Size
Choose the base size by fitting the areas that cannot easily be changed later. The bust, shoulder and hip relationships matter more than the label on the packet, particularly if the fabric has little give. If your bust sits differently from the drafted shape, Josie’s small bust adjustment guide explains a practical method for adding room without disturbing the rest of the bodice.
Work in the units you understand, then convert once. Australian dressmakers commonly work in centimetres, while some indie patterns arrive in inches; record the original measurements, your intended finished length and the amount to add in one consistent system. A simple paper pattern is useful here because it lets you preserve the original pieces and compare alterations without cutting fabric twice.
Working Out the Extra Length
There are two dependable ways to gain length. The first is slash and spread: cut through the pattern on a chosen line, keep the sections hinged with tape, and spread them evenly until the required length is reached. The second is to cut the garment section into two and insert matching panels. Choose according to the shape in the pattern PDF, and never spread across a shaped dart or seam without planning how it will sit.
For a smooth alteration, I first made a quick calico or discarded-cotton version. I wore it, pinned the target hem and transferred that level to the pattern. When extending a bodice at a waist seam, I preserved the seam line and added the needed amount below it; for an unseparated body, I placed the extension on a straight-grain section and balanced it across the front and back. A second wear test is essential because gravity and posture can shift the hem.
Choosing Fabric for an Australian Wardrobe
Unlike Yorkshire, much of Australia moves from hot summers to mild or cool winters, making fabric choice especially important. Air-conditioned offices can feel quite cold, so a breathable cotton can move from a warm afternoon to a cool workplace without much bulk. I browsed the fabric range at Seabass Sensation for inspiration, then checked weight, stretch, opacity and drape against the Replete Tunic rather than choosing solely by colour.
Op shops are a familiar part of Australian sewing life, and a rescued curtain, sheet or cotton dress can be an inexpensive test fabric. In Melbourne, Sydney, Adelaide and regional towns, charity shops and independent makers’ markets offer useful remnants, although the best finds vary widely. When an op-shop find feels special, locals might call it a “beaut”, but always wash it first and test for colourfastness.
The market also crosses borders. Love Notions is an independent designer whose digital pattern can suit a home-sewing budget, yet the final price in Australian dollars may include currency conversion, overseas shipping and GST. Check the local total before buying, and support Australian stockists or makers when their range and service suit your project. If a shop has no worries about a late alteration, that is a good sign, but the pattern instructions still need checking at home.
Cutting and Construction Details
When adding panels, match the grain and notches carefully, then sew a narrow seam allowance consistent with the original construction. Clip curved seam allowances so they can turn without bunching, and press each new seam before reassembling the garment. Hang the work for a day before deciding on the hem; the weight of the lower section may pull the side seams inward, making an apparently straight hem sit unevenly.
Choose the hem finish for the fabric and the way you will wear the dress. A clean machine hem suits crisp cotton, while a rolled or narrow turned hem works better for softer cloth that will crease. I also checked the original pocket, sleeve and facing arrangements in the PDF so the added length did not interrupt their balance. The Replete Tunic is still recognisable, but the long line gives the pockets and lower seams more visual purpose.
Recommendations for a Reliable Test Garment
I separate the pattern’s original construction from my own alteration notes, which makes a review easier to compare and repeat. Commercial relationships are also recorded openly, and the blog disclosure policy explains how they are presented on this site. Keeping those details clear is especially useful when a reader adapts the same idea for a different size, fabric or budget.
For a first attempt, use an inexpensive test fabric and treat every mark as information rather than failure. The following approach kept the project controlled without requiring specialist equipment.
- Photograph and trace the original pieces, then label the grain, seam allowance and intended alteration line before cutting.
- Fit the base garment on the body and use a purchased muslin or paper pattern to confirm the added length.
- Add any adjustment in small, balanced sections, checking front-to-back length and side seam alignment as you go.
- Leave the final hem generous, hang the garment overnight, then mark and trim it after the fabric has settled.
Comparing the Original and Lengthened Versions
Wearing both versions showed that the original tunic remains the easier layer, while the lengthened version has greater freedom over trousers and a cleaner solo silhouette. The alteration did not need new shaping through the bodice; it mainly required careful length distribution, a revised hem and enough fabric weight to fall cleanly. That makes it a flexible conversion rather than an all-or-nothing remake.
If you want to follow the fitting process, future make-along notes are useful, and the site privacy details explain what information is collected and how it is used. The final comparison below captures what changed, what stayed the same and which details deserve attention before you begin.
| Feature | Original Replete Tunic | Lengthened dress |
|---|---|---|
| Intended use | Casual layering over trousers or leggings | Standalone midi dress or relaxed workwear |
| Finished length | Original hem, designed for layering | Extended below the hip to the chosen body length |
| Upper-body fit | Left close to the drafted shape | Retained unless the base size needs bust adjustments |
| Fabric needs | Moderate yardage with less drop length | Longer yardage, sufficient weight and a workable hem allowance |
| Main alteration | None beyond standard construction | Balanced slash-and-spread or matching added panels |
| Best styling | Tees, jumpers and narrow trousers | Boots with a belt, leggings or simple knitwear |
Popular Pattern Reviews
| Pattern | Designer | Type | Highlight |
|---|---|---|---|
| Compose Robe (Kids) | Love Notions | Robe / Loungewear | Sizes 2T–16, cosy & practical |
| Tempo Sundress | Love Notions | Sundress | No closures, shirred back panel |
| Arlington Sweater | Love Notions | Sweater | Cold-weather staple |
| Sybil Illusion Skirt | Love Notions | Skirt (knit) | 7 variations, optional pockets |
| Camden Pinafore | Nina Lee Patterns | Pinafore dress | Year-round layering piece |
| Ogden Cami (dress hack) | True Bias | Cami / Dress | Versatile wardrobe builder |
| Burda 6829 | Burda | Dress | Multi-sized, special-occasion |
Stay in Touch
Subscribe to the newsletter for sewing inspiration, pattern tips, and project ideas delivered straight to your inbox.