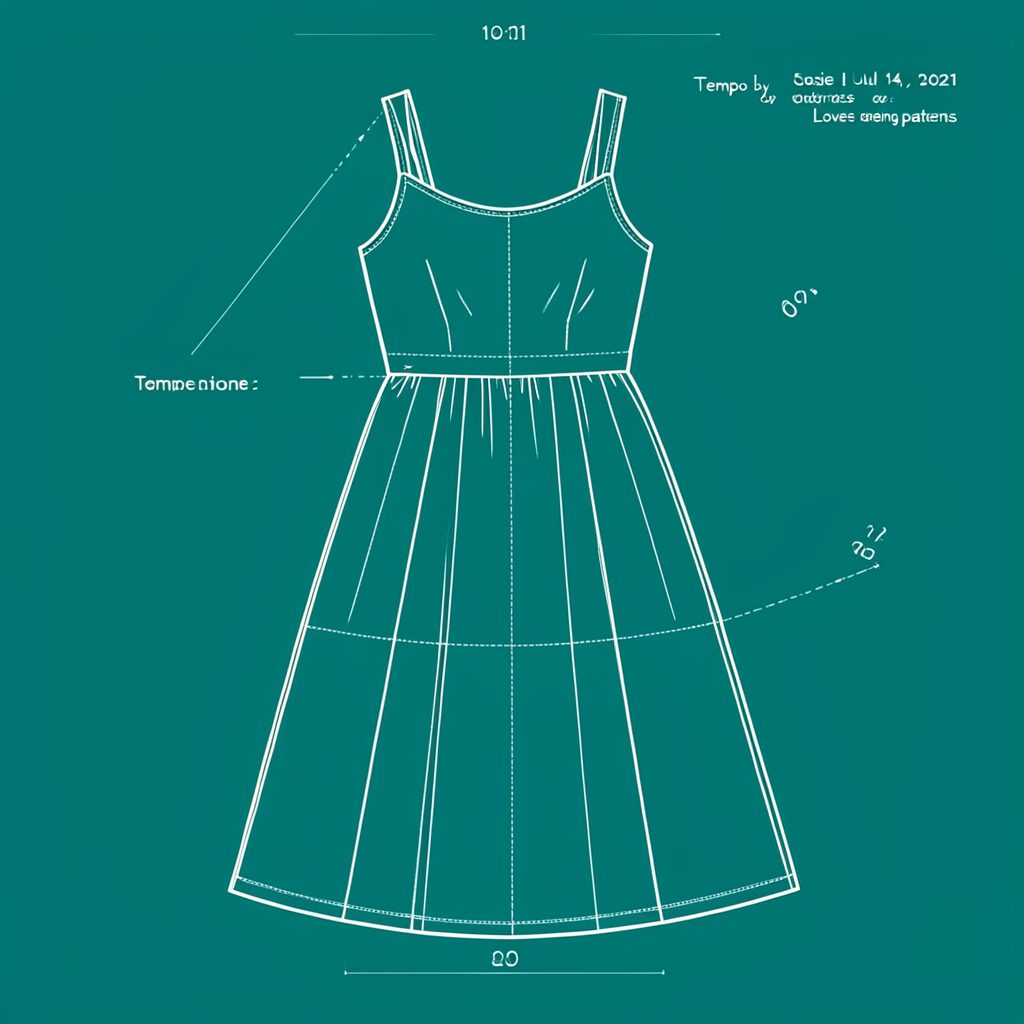
A Clean Facing Finish With Bias Tape
Bias tape can give an exposed neckline or armhole a crisp, comfortable edge without the bulk of an overlocked seam. Its gentle stretch hugs a curve instead of pulling it flat. I show how to combine a shaped facing with bias binding, keeping the garment supported while the visible edge looks deliberate. The method suits an indie bodice, a shop-bought tee or a softly shaped dress armhole. Learn more about Jak Przyjąć Niedoskonałość W Rękodziele.
Sewing a facing with a clean finish using bias tape works best when every layer is controlled rather than folded and hidden. Shape the facing, attach it carefully, secure the seam allowance, then bind the exposed edge before the final press. I work in centimetres and test on the actual fabric, because fibre and curve determine how easily the tape stretches.
Choosing the right materials
Choose a facing that matches the garment in weight, drape and pressing behaviour. Cotton voile, lawn and poplin work for summer bodices; wool or a wool blend can support a winter neckline. For a typical 10 mm seam allowance, I prefer 20 mm single-fold cotton bias tape. Stretch the folded tape gently: it should curve without sharp creases. Love Notitions patterns differ in how they handle facings, so check the PDF; if your chosen design omits one, a bodice piece cut on the fold can work if its grain and depth suit.
| Finish | Best for | Visible result | Main consideration |
|---|---|---|---|
| Turned facing | Tailored or lined bodices | Concealed allowance with crisp topstitching | Requires accurate pressing |
| Bias-bound facing edge | Open necklines and contrast details | A narrow, flexible border | Tape width must remain even |
| Bound seam allowance | Unlined or reversible pieces | A fully enclosed interior edge | Gives slightly less shaping support |
Match the tape to the facing for a quiet finish, or choose a deliberate contrast. Test the fold on an offcut. When comparing construction terms across independent instructions, I keep Wafli sewing resources as another reference, but the selected pattern remains the source for measurements.
Preparing the facing and garment
Prepare both pieces before sewing. Launder or steam the fabric as its care label advises, since shrinkage can alter the neckline. Check that the facing covers the seam allowance and follows the bodice curve without stretching. Lightweight stay tape can control the neckline or shoulder, but keep it clear of the area to be bound.
Mark seam lines and notches, then pin the facing to the bodice’s right side with grainlines parallel. Use the printed seam allowance—10 mm is common in the Australian indie pattern market—rather than a universal figure. Join the shoulders first when possible, as this removes bulk from the curve. For the inner construction, my notes on lining into a bodice help me check that lining and facing meet cleanly at the armhole.
If the facing has a strong grain, reinforce its curve with stay stitching. Work in short sections, checking the distance from the neckline at centre front, shoulder and armhole. A paper pattern confirms the shape, but the worn garment has the final say because posture and drape differ.
Sewing the facing into place
Sew the facing to the bodice right sides together, starting at the most stable point. Guide the curve without stretching either layer, and pause at each notch. If the seam exceeds your machine’s comfortable reach, finish it in two sections with a small overlap rather than forcing the curve under the presser foot.
After stitching, trim the seam allowance to about 6 mm without cutting the stitch line. Grade bulky seams by trimming the facing allowance slightly narrower. Clip narrow, regular notches into the curve so it opens smoothly. Turn and press the facing to the inside, enclosing the seam allowance, but leave it unstitched until the raw facing edge is bound.
Binding the exposed facing edge
Decide whether the binding should be visible. For a decorative edge, leave the turned facing in place and bring bias tape around its free raw edge, with the folded tape on the garment’s right side. For a quieter finish, enclose the raw edge on the inside with a second strip of bias. Cut the tape slightly long and press its fold before reaching the neckline or armhole.
Lay the tape over the raw edge so the fabric sits inside the fold. Hold it around the curve without pulling; even tension matters more than speed. Stitch close to the inner fold through tape and facing, then secure the ends. At a mitred corner, pre-crease the tape diagonally, overlap and trim the excess. The finished line should look continuous.
On a deep armhole, work in 3–5 cm sections and re-pin often. Let the bias extend slightly instead of compressing it to its original length, because forced width causes ripples. Check front and back frequently so the facing does not shift towards the shoulder.
Pressing and stitching the final finish
Press the bound edge towards the body with a cloth over the tape. Cotton handles steam well, but synthetic binding can glaze, so lower the temperature and press from the fabric side where possible. Use the garment’s pressing allowance to establish the edge, then topstitch through facing and bodice just beyond the original seam. This keeps the facing flat and prevents rolling.
Understitching is optional: it can hold the facing inside while the bias controls the visible edge. Choose one topstitch rather than competing rows, and use a longer stitch for stable cotton or wool. At centre front, topstitch into the facing instead of stretching it across the bust curve. The accepting handmade imperfections guide offers a useful reminder that tiny variations belong in handmade work, although a wavy binding still deserves attention.
Before calling the bodice finished, wear it under the light you normally use. Look for a gap at the neckline, a twist at the shoulder or a raised edge under the arm. Catch-stitch and press from the inside. If the garment will sit over a shirt, allow extra centre-front ease rather than pulling the facing flat to disguise a fit issue.
Adapting the method for Australian projects
Australian sewing life rewards adaptable choices. Lightweight cotton and rayon challis suit warm months in Brisbane and Sydney, while breathable linen works for a loose summer bodice. In humid Brisbane weather, press small sections and choose cotton bias tape, which handles moisture and laundering better than stiff synthetic ribbon. Melbourne’s laneway fabric shops around Brunswick and the city centre are handy for comparing cottons, linens and wool blends.
Seasonal planning changes the fabric, not the method. A lined winter bodice in Canberra or Melbourne benefits from stable wool or suiting-weight facing; the same shape in a Darwin summer may need lighter cotton and a more open neckline. At Australian craft markets and online shops, indie patterns are often sold as PDFs in Australian dollars with metric measurements, so check the size table and allowance. Australian-fit patterns are a starting point, not a substitute for fitting.
For a visible finish, coordinate the binding with colours common in the local market: marine, ochre, eucalyptus green and warm rust sit comfortably beside sandwashed cottons. A contrasting tape can frame a plain bodice, but match its weight to the facing so the neckline does not stiffen. Wash the finished garment as you would any handmade piece, then replace the pattern notes with actual measurements.
Troubleshooting common finishing problems
If the bound edge waves, the tape was probably pulled around the curve. Unpick a short section, release the tension and let the bias ease outwards while stitching. Narrower tape may help on a tight armhole. If the tape rolls the wrong way, press it towards the garment before topstitching and check that the raw edge is centred inside the fold.
Bulging corners usually mean several layers meet at one point. Trim each allowance to a different width, clip the curve and use the bias to combine the layers rather than adding another thick strip. If the neckline looks uneven, compare the front facing with the back before altering either piece; a side-seam mismatch can make good stitching appear crooked.
Small handmade differences do not need to look factory-perfect, but they should be intentional and comfortable. Before sharing pattern pieces, adapting commercial instructions or publishing a tutorial, check the relevant rights and do not present a designer’s work as your own. Josie’s site disclaimer is one useful place to review that distinction. With the facing flat, the bias evenly folded and the garment comfortable, the clean finish should not demand perfection.
Popular Pattern Reviews
| Pattern | Designer | Type | Highlight |
|---|---|---|---|
| Compose Robe (Kids) | Love Notions | Robe / Loungewear | Sizes 2T–16, cosy & practical |
| Tempo Sundress | Love Notions | Sundress | No closures, shirred back panel |
| Arlington Sweater | Love Notions | Sweater | Cold-weather staple |
| Sybil Illusion Skirt | Love Notions | Skirt (knit) | 7 variations, optional pockets |
| Camden Pinafore | Nina Lee Patterns | Pinafore dress | Year-round layering piece |
| Ogden Cami (dress hack) | True Bias | Cami / Dress | Versatile wardrobe builder |
| Burda 6829 | Burda | Dress | Multi-sized, special-occasion |
Stay in Touch
Subscribe to the newsletter for sewing inspiration, pattern tips, and project ideas delivered straight to your inbox.