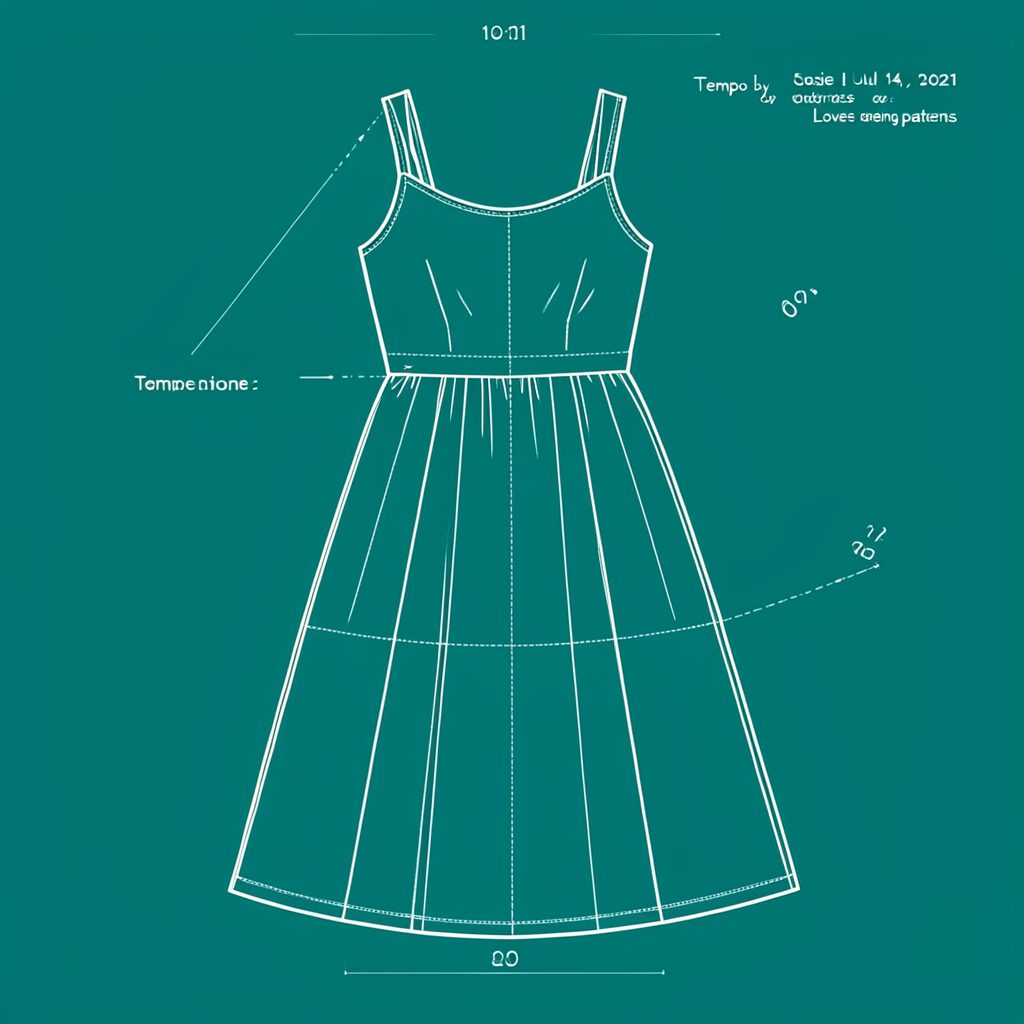
Love Notions Serenade blouse: adding a ruffle hem
The Love Notions Serenade blouse is a lovely base for a playful ruffle hem because its fitted bodice gives the gathered fabric a clear shape. Rather than redesigning the whole blouse, you can replace or extend the original hem with a softly gathered flounce. The result feels balanced, feminine and a little dramatic without losing the pattern’s neat lines.
I like this alteration because it works with several lightweight fabrics and can be adjusted to the amount of fullness you prefer. The same make-do approach runs through Josie’s craft journal, where I share practical construction ideas for sewists who want to adapt indie patterns rather than follow every line rigidly.
Choosing fabric and planning the proportion
Fabric choice controls how the ruffle behaves, so test a scrap before cutting. My summer fabric comparison sets out the differences clearly, while the key choices come down to drape, opacity and how forgiving the fabric is during gathering.
| Consideration | Double gauze | Viscose rayon |
|---|---|---|
| Drape | Soft and rounded with slight structure | Fluid and fluid-looking |
| Gathering | Forgiving, with soft folds | Shows every uneven fold |
| Opacity | Usually reassuring but worth checking | Can vary with the weave |
| Pressing | Benefits from careful steam | Needs moderate heat to prevent shine |
| Best effect | A relaxed, textured flounce | A smooth, sweeping ruffle |
For Australian weather, September means spring rather than the beginning of autumn, making lightweight woven fabric especially useful. Double gauze suits changeable days, while rayon drapes nicely for humid Brisbane afternoons. Always check opacity in strong sunlight, including light coming through a window or office air-conditioning in Sydney.
Marking the hem and calculating fullness
Try on the blouse before altering the pattern and decide whether it will be worn tucked in. A lightly gathered ruffle works best beneath the waist; a deeper flounce can remain visible when untucked. Mark the desired join line with chalk or a removable pen, checking its height at the centre front, sides and centre back.
Measure the seamline edge that will meet the ruffle rather than the blouse circumference. If that edge is 90 cm, a 1.5-to-1 fullness ratio needs a 135 cm strip, while a 2-to-1 ratio needs 180 cm. These are useful starting points: little gathering creates a controlled peplum, and more fullness creates a fuller sweep. Add the pattern’s seam allowance at both ends of the strip, then allow the desired finished depth plus its hem allowance for the lower edge.
For a separate flounce, reduce any bulky original hem allowance to the pattern’s standard seam allowance at the join. An alternative is to extend the blouse pattern itself by slashing vertically from the hem and spreading the lower sections. That method produces a continuous flare, but it uses more fabric and changes the original silhouette more noticeably.
Preparing the flounce for clean gathering
Cut the ruffle on the straight grain whenever possible so it hangs predictably. If one length is insufficient, join several strips along the grain before finishing the outer hem. Press the seams open so they do not create bulky lumps inside the gathers.
Fabric checks
- Test the fabric’s opacity in daylight.
- Press a scrap to check shine and watermarking.
- Choose a stable weave if the flounce must remain crisp.
Cutting checks
- Include seam allowance at each gathered end.
- Keep all joins on the grainline.
- Label the bodice and ruffle pieces clearly.
Use a long basting stitch slightly inside the seamline to gather the ruffle’s upper edge. Divide both the blouse edge and the strip into quarters or eighths with small perpendicular marks. These reference points make it much easier to distribute the gathers evenly before the final seam.
Attaching the ruffle without losing the line
Finish the blouse’s raw edge first with an overlocker, zigzag stitch or lightweight bias binding. This prevents the bodice seam allowance from stretching while the ruffle is eased onto it. Check whether the blouse is lined, because the ruffle should generally attach to the outer shell rather than catch the lining.
Set the ruffle to your chosen fullness and baste it to the blouse with the right sides facing. Match the centre reference marks first, then the side seams or any opening points. Work between each marker, gathering the strip gradually rather than bunching everything in the middle. A walking foot or light differential feed can help, but careful hand distribution matters more than speed.
Fit the basted blouse before sewing permanently. The bodice should still sit smoothly at the waist, and the lower edge should feel light rather than pulling at the hips. Have a squint at the seam from eye level; uneven gathers that look obvious from above often disappear when the blouse is worn. Once the spacing is balanced, machine-sew using the pattern’s seam allowance and press the seam towards the bodice.
Pressing and finishing the inside details
Let the blouse hang for several hours before finishing the flounce, preferably overnight. Pin the hem with a few soft curves rather than forcing every section into a perfect circle. Rayon generally takes a narrow hem, while double gauze can suit a slightly wider fold. A single turned hem, rolled hem or enclosed bias finish keeps the visible edge neat.
Neat stitching can define the seam without looking severe. For a firm visual reference on controlling parallel stitch lines, my notes on moto jacket topstitching use a different garment but demonstrate the same careful placement. Keep any topstitching on the bodice side of the ruffle seam so it does not restrict the flounce.
Avoid pressing the gathered section aggressively, as steam can flatten rayon and make double gauze swell. Use a pressing cloth and test the iron temperature first. Follow the fibre-specific washing instructions, dry the blouse away from harsh Australian sunlight and allow it to hang rather than storing it crushed, which helps the hem recover its soft shape.
Styling the ruffle in an Australian wardrobe
The blouse remains versatile beneath work clothes and weekend outfits. Tucked into high-waisted trousers, it works with lightweight fabrics for Sydney offices or polished daytime events. In Melbourne, where layers are routine, it also sits comfortably over a camisole and under a light jacket. The gathered hem looks particularly effective over narrow jeans, a straight skirt or softly pleated trousers.
Australian sewists commonly encounter patterns as PDFs, often with metric measurements and size ranges suited to local bodies. Overseas indie-pattern purchases are usually charged in AUD, although exchange rates and card fees can alter the final price. Independent fabric shops and Australian craft chains such as Spotlight provide convenient local alternatives, while Vinnies and Salvos op shops can supply unusual lightweight remnants for a small test ruffle. The completed blouse keeps the Serenade bodice neat while giving the lower edge movement, rhythm and a distinctly personal finish.
Popular Pattern Reviews
| Pattern | Designer | Type | Highlight |
|---|---|---|---|
| Compose Robe (Kids) | Love Notions | Robe / Loungewear | Sizes 2T–16, cosy & practical |
| Tempo Sundress | Love Notions | Sundress | No closures, shirred back panel |
| Arlington Sweater | Love Notions | Sweater | Cold-weather staple |
| Sybil Illusion Skirt | Love Notions | Skirt (knit) | 7 variations, optional pockets |
| Camden Pinafore | Nina Lee Patterns | Pinafore dress | Year-round layering piece |
| Ogden Cami (dress hack) | True Bias | Cami / Dress | Versatile wardrobe builder |
| Burda 6829 | Burda | Dress | Multi-sized, special-occasion |
Stay in Touch
Subscribe to the newsletter for sewing inspiration, pattern tips, and project ideas delivered straight to your inbox.