Hidden-seam scrunchies for a polished finish
Scrunchies are a quick sewing project with a big payoff: a gathered hair accessory that looks more considered than a plain elastic tie. This guide covers DIY fabric scrunchies with hidden seams, solving the little bulk of stitching that often sits along a traditional hair tie. The result is soft, tidy and comfortable for a ponytail, bun or wrist.
The familiar method joins fabric and elastic in exposed seams, then gathers the tube. Here, construction changes: the fabric is turned so its seam allowances sit inside, while the joined elastic is positioned beneath that internal seam. From the outside, you see only soft fabric and even gathers, with no topstitch, zipper or bulky join interrupting the shape.
I like projects that look simple but teach useful skills, and this is one of them. You will practise accurate cutting, handling stretchy jersey, feeding elastic through a tube and closing an opening neatly. It suits a beginner learning construction, while adjustable measurements make it equally good for a batch of gifts. The same care transfers to dressmaking and indie pattern work, including Love Notations releases.
Choosing fabric for smooth gathers
Start with fabric that feels soft against hair and can form fullness without twisting. Stretch is helpful but not essential when using a separate elastic casing; it mainly improves comfort and recovery. Always test a small cut, because inexpensive jerseys can grow unexpectedly during sewing.
| Fabric choice | Scrunchie result | Construction note |
|---|---|---|
| Silk satin | Fluid, polished and gentle | Use a sharp needle; slippery edges need a light press |
| Cotton jersey | Soft, breathable and forgiving | Avoid pulling the cut edge as it can grow |
| Bamboo jersey | Smooth drape with good recovery | Press on the reverse and use a ballpoint needle |
| Performance knit | Springy, strong and moisture-managing | Mark carefully and use a stretch needle |
| Woven poplin | Crisp and economical | It gathers, but the handle is bulkier and less elastic |
Stretch quality matters more than the fibre name alone. Pull the fabric gently in both directions and watch whether it springs back; strong recovery helps the scrunchie stay close to the hair instead of hanging loose. For the prettiest gathers, look for two-way stretch and a fine, stable knit.
In much of Australia, a hot January makes lightweight cloth especially practical. Breathable cotton or bamboo jersey suits humid days, while a performance knit is useful for exercise and warm commutes. For a sports version, Josie's performance knit guide offers useful guidance on stretch, recovery and handling.
Setting the size and checking stretch
Measure around the area where the scrunchie will sit, then allow for gathers. An adult tube is usually 45–55 cm around and 8–10 cm wide; smaller hair ties can be made at 35–45 cm. A 10 by 55 cm fabric rectangle is a useful starting point, but a trial tube is the safest way to settle on a comfortable size.
Check stretch before cutting. Place the fabric so it can expand around the circumference, and mark the centre and one long edge lightly with tailor's chalk. Australian cloth is generally sold by the metre and measured in centimetres, so confirm whether an imported pattern uses inches or yards before transferring dimensions; many independent patterns offer a metric option.
For a 50 cm tube, begin with about 38 cm of flat elastic, then adjust after testing. Wider elastic spreads the tension and feels kinder to hair, while narrow elastic can dig in. Buy 10–15 mm elastic for everyday wear, or 20 mm for a softer, more substantial scrunchie.
Making the fabric tube
Prepare the cut rectangle by pressing it lightly if the material needs it, then bring the two short edges together with the right sides facing. Test the stitch on a scrap, using a ballpoint needle for jersey and a sharp needle for satin. A straight stitch around 2–2.5 mm is a sensible starting point.
Sew across the aligned short edges to create the tube. Leave a 2–3 cm turning gap at one end of this crosswise seam, close to a long edge, and backstitch at both ends of the seam. Trim the allowance evenly; if the fabric frays, catch the raw edge with a narrow zigzag or overlock it before turning.
Turn the tube through the gap so the right side faces outwards and the seam allowances sit inside. A tube turner or blunt chopstick helps with wider pieces; guide the tool gently so it does not pierce the jersey. Ease the fabric over the tool rather than pulling hard, which can distort the seam.
Inserting and joining the elastic
Choose flat, soft elastic rather than stiff craft elastic. Fold-over elastic creates an enclosed casing and is a useful shortcut, but separate broad elastic gives you more control over the fullness and allows the elastic join to be concealed beneath the fabric seam.
Before joining, thread a large safety pin through one elastic end and close it carefully. Overlap the two ends by about 3 cm, then secure both layers with a wide zigzag, a flatlock seam or several rows of stretch stitch. Check that the join remains flexible. On a regular machine, a close zigzag is the simplest option.
Hold the free end of the elastic loop and feed the safety pin through the fabric tube. As the pin emerges, pull the joined section through and arrange the elastic evenly around the fabric. Position the elastic join behind the internal seam so it is hidden from both sides, then remove the safety pin.
Closing the hidden opening
Close the turning gap from the inside with a tiny ladder stitch or split stitch. Catch each raw edge with several small, evenly spaced stitches, then knot at the seam allowance rather than on the visible face. Keep the tension firm enough to close the opening without puckering the fabric or creating a tight ridge.
Before the final knot, check that the elastic joint is still behind the fabric seam and that the gathers can slide around the ring. If the fabric has shifted, redistribute the fullness by massaging the tube gently. A hidden finish should feel smooth under a fingertip, not pinched or stiff.
Caring for and styling your scrunchies
Wash the finished scrunchie according to the fabric. Hand washing in cool water or using a delicate laundry bag protects delicate satin and elastic; reshape the ring and dry it flat away from direct sun. Avoid a hot tumble dry, which can shrink cotton jersey, dull bamboo or damage the elastic.
A neutral cotton scrunchie works for everyday ponytails, while satin suits an evening look or a neatly tied bun. Performance versions can handle gym sessions, though rinsing after sweat helps preserve the fabric. Scrunchies also make useful wrist ties for hot-weather days when loose hair feels uncomfortable.
Small makers' markets are popular across Australia, and independent haberdasheries around Melbourne's Glenferrie Road make it easy to compare knits in person. Many Australian online shops quote prices in Australian dollars and include GST for local shoppers, while overseas indie designs can add postage at checkout. If you are keen to test several options, buy a short length of each; that is a beaut way to compare handle before committing to a full metre.
Sharing the make and solving small issues
If the scrunchie hangs too loose, shorten the elastic slightly; if it stays densely compressed, replace it with a longer piece. A crooked appearance usually means the fabric was pulled while sewing rather than a problem with the pattern. Work from a new seam allowance and let the jersey relax before marking again.
If you plan to email photographs of your finished scrunchies to the blog, read Josie's privacy policy first so you know how submitted images and personal details are handled. For an online craft audience, a clear close-up of the inside seam can be more useful than a polished outfit photo, and it shows the construction neatly.
Turn the scrunchie over, smooth the gathers and check that no thread ends are hiding near the opening. The clever work stays tucked inside, leaving a comfortable ring with a neat outer finish and plenty of colour for everyday wear.
Popular Pattern Reviews
| Pattern | Designer | Type | Highlight |
|---|---|---|---|
| Compose Robe (Kids) | Love Notions | Robe / Loungewear | Sizes 2T–16, cosy & practical |
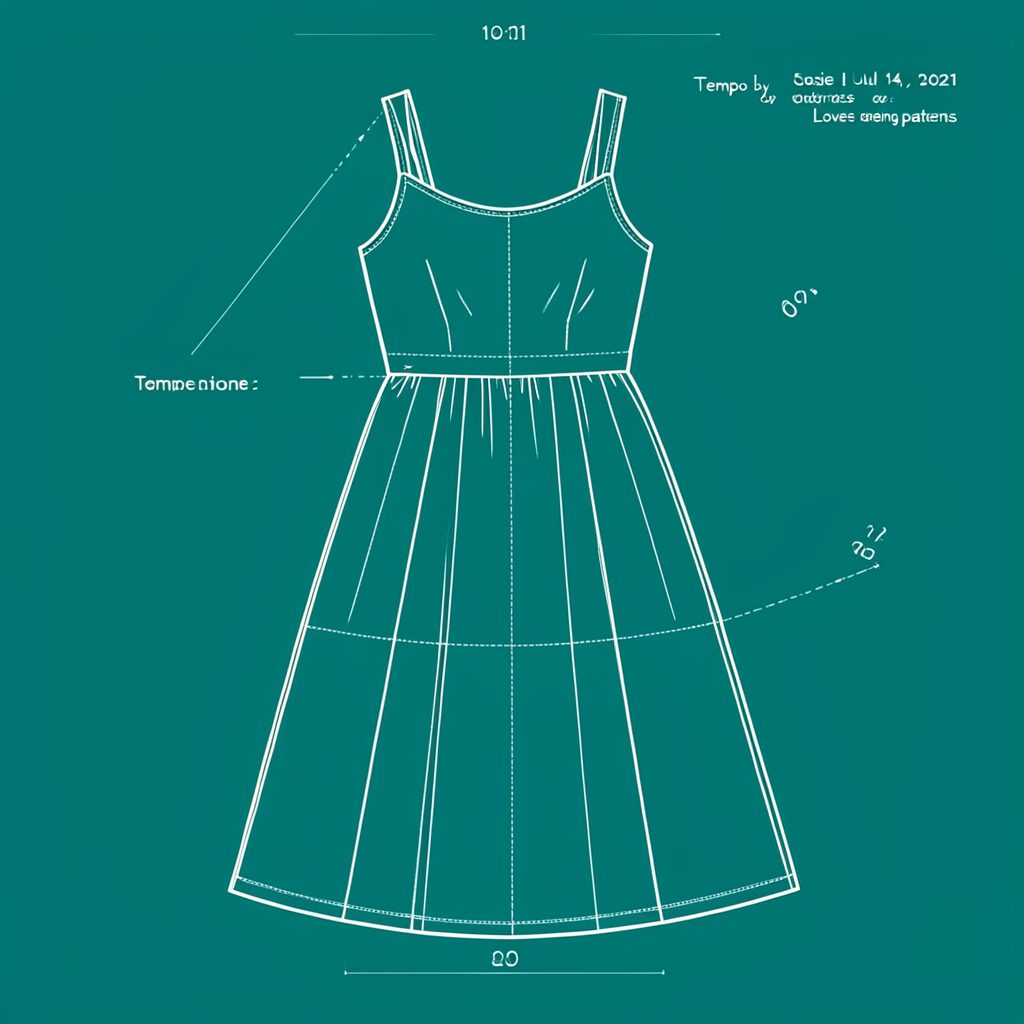
| Tempo Sundress | Love Notions | Sundress | No closures, shirred back panel |
| Arlington Sweater | Love Notions | Sweater | Cold-weather staple |
| Sybil Illusion Skirt | Love Notions | Skirt (knit) | 7 variations, optional pockets |
| Camden Pinafore | Nina Lee Patterns | Pinafore dress | Year-round layering piece |
| Ogden Cami (dress hack) | True Bias | Cami / Dress | Versatile wardrobe builder |
| Burda 6829 | Burda | Dress | Multi-sized, special-occasion |
Stay in Touch
Subscribe to the newsletter for sewing inspiration, pattern tips, and project ideas delivered straight to your inbox.