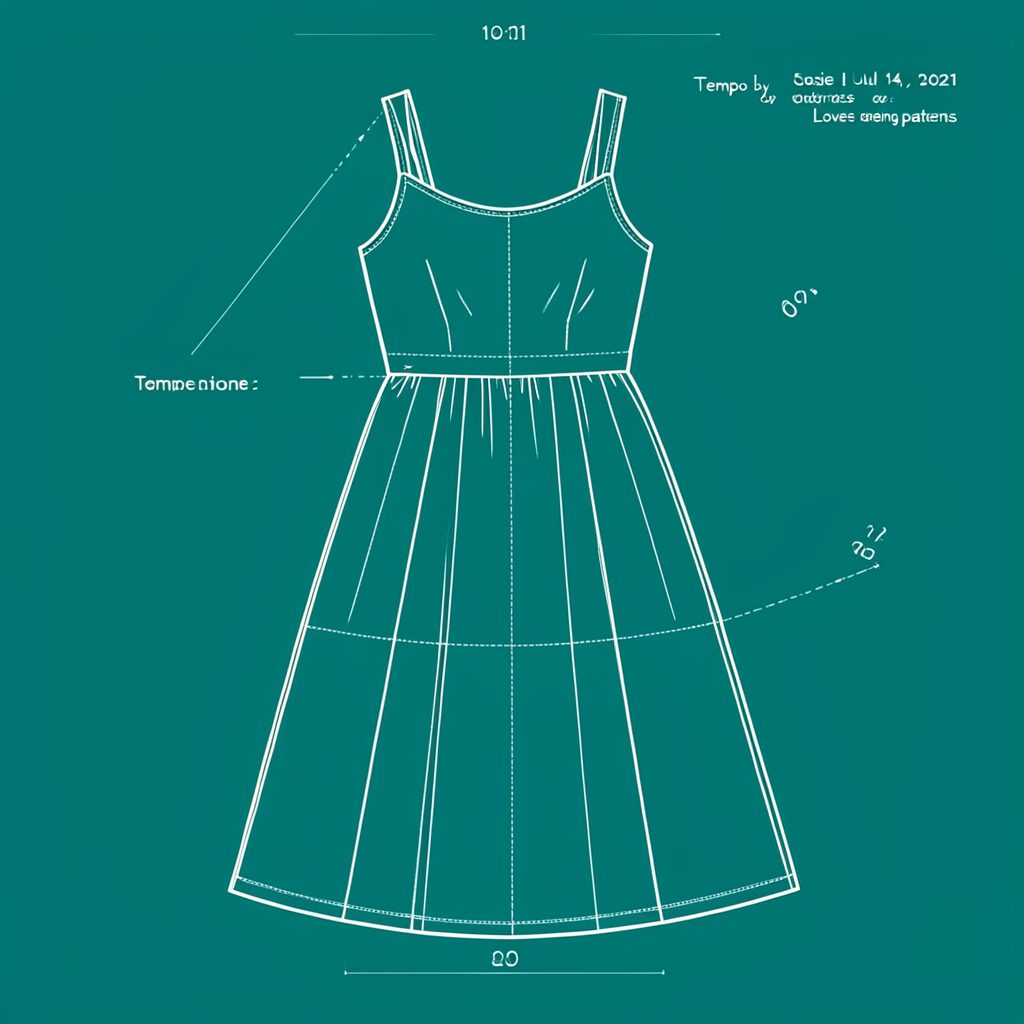
How to grade between pattern sizes for a custom fit
Choosing a larger pattern size is easy; grading a pattern for a custom fit requires more care. The goal is to match your measurements while keeping the neckline, armhole, sleeve length and overall proportions believable. This guide covers moving between pattern sizes, recognising when a redraft is more useful, and testing the result before you cut your fabric. Learn more about Szydełkowy Dywanik Ze Sznurka Bawełnianego.
A commercial pattern's size already contains wearing ease. Grading adds or removes that allowance at the relevant edges; it should not simply enlarge every line by the same percentage. A single-size block, by contrast, gives you a shape to adjust rather than a finished set of graded options. Learn more about Love Notions Cascade Dress A Hack Into A Top.
For Australian sewists, the practical challenge is that size labels vary between brands, while some imported US patterns arrive in inches. Measuring a pattern's finished dimensions in centimetres gives you a dependable comparison, whether you buy from a retailer such as Spotlight or work directly with an indie designer. Learn more about Kleinerhase Stempelnase.com.
What size grading actually changes
Grading is the controlled translation of one set of pattern dimensions into another. It responds to changes in bust, waist and hip measurements, and sometimes height or back length. It does not automatically change style details: a gathered shoulder, curved hem or unusual pocket shape needs to remain part of the design. Learn more about Pattern Review The Sinclair Patterns Lonsdale Dress.
It helps to distinguish grading from simple scaling. Scaling enlarges the whole pattern proportionally, including the neck and armholes, so a small size can become oddly roomy around the face. Grading changes measurements in relation to the body and retains sensible ease and construction details.
Think of a size 12 block as a useful middle point, not a universal shape. If your underbust and waist measurements sit differently, moving to size 14 may solve one area while creating another. Comparing your measurements with the size chart tells you which adjustment matters most.
Measurements, ease and body proportions
Use a metric tape and measure over the clothing you expect to wear underneath. Record full bust, underbust, natural waist and full hip, then add back-waist length, shoulder-to-waist and arm lengths. Height affects the choice between short, regular and long blocks, while posture can influence how a garment settles.
Wearing ease is included in a pattern's measurements, so do not subtract it from your body measurements again. A fitted bodice might allow little movement, whereas a loose dress may include more. Fabric stretch changes the equation: knits and fluid fabrics behave differently from crisp cotton, so check the designer's guidance.
Australian pattern sizing commonly uses numbers such as 8, 10, 12 and 14, but charts differ between brands. A number alone offers little assurance. Compare the finished bust, waist and hip circumferences printed in the instructions, and test any unfamiliar size in a cheap toile before cutting your final fabric.
Moving up or down between sizes
Begin with the size line that best matches your key measurement and treat it as the baseline. On a multi-size Love Notions PDF, locate the equivalent lines on the front and back bodice, sleeve and other graded pieces. The nested outlines reveal how the designer intended the shape to change.
On the paper, mark the current and target cutting lines at the shoulder, side seam and hem, keeping the grainline in place. Reconnect those points to create the new cutting edge. If the waist needs more change than the bust, adjust the dart or side-seam shape accordingly rather than adding equal width everywhere.
Moving down a size deserves the same care, especially when your bust, waist and hip do not change in proportion. Fabric stretch and style ease matter too: a snug knit bodice and a loose cotton dress cannot be judged by the same rules. If a clever alteration can solve the discrepancy, a redraft may be unnecessary. The Cascade dress hack shows how a familiar dress pattern can become a top, illustrating how pattern knowledge can be adapted rather than discarded.
Comparing your starting point
| Approach | Best suited to | Main advantage | Common pitfall |
|---|---|---|---|
| Trace a graded size | Multi-size commercial patterns | Uses the designer's tested outlines | Different areas may need different changes |
| Redraft from your sloper | Recurring fit across many projects | Controls the neck, armhole and length together | Requires accurate measurements and careful drafting |
| Adjust a single-size draft | A specific fit discrepancy | Limits changes to the affected area | Seam balance can be lost through casual alterations |
| Scale the pattern | Simple objects and repeat shapes | Quick for enlarging uncomplicated designs | Proportions can become clumsy or oversized |
No method is automatically superior. Tracing a graded size is dependable when the chart agrees with your measurements. A redraft is valuable when your shape differs across several areas, while careful alterations can handle a defined problem. Scaling belongs mainly in objects and decorations rather than fitted clothing.
Independent designers often make these decisions easier to assess because their pattern instructions and finished measurements are central to the review. The Lonsdale dress review is a useful example of checking ease, construction and real-world fit before selecting a size, whether the pattern was bought locally or online.
Making fit corrections beyond grading
Make a fitting toile in inexpensive fabric with a similar weight and stretch to your final material. For a dress, sew the bodice, attach a muslin or scrap skirt, and wear it with your usual undergarments. Pin rather than cut when you find a problem. Move darts, ease the side seam, adjust a strap or take in a back seam; then transfer only those corrections to paper.
Some changes belong on the pattern, while others are temporary. A sloping shoulder may need the shoulder seam repositioned, and a rounded abdomen may need waist darts moved towards the centre. Neckline gaping may need a neck adjustment rather than a smaller size, since a tighter bodice would not fix the cause.
Mark each adjusted piece clearly so you can repeat it correctly. A fabric label can help identify the final version, and this small stamp collection is a charming example of the decorative details that can give handmade work a personal identity. Keep the original draft nearby alongside your altered pattern.
Scaling the project as well as the pattern
Grading affects fabric quantity, trims and construction as well as body fit. A larger size may use more length, while an A-line skirt might need extra width added at the hem. Recalculate yardage from the new cutting pieces and retain extra seam allowance for future fitting corrections.
The same discipline applies to non-apparel makes. In this cotton cord rug guide, changing dimensions come from the material and construction rather than a body chart. Comparing a small version with a larger one helps you estimate both supplies and time, useful knowledge for a weekend project.
A practical fitting routine
Before cutting expensive fabric, spend a little time with paper and measurements. Decide which pattern line matches you, draft the necessary corrections, and test the result on your body. For a summer dress, a breathable cotton or linen toile is comfortable in Brisbane's heat; for a design intended for Melbourne's changeable weather, test it over a sweatshirt or fleece layer.
Keep your notes simple: body measurements, chosen size, ease, fabric stretch and every alteration made. These details make the next project faster and help an indie designer understand where fit needs attention. They also make it easier to order from Australian pattern retailers or international designers without relying on a familiar size number.
- Compare your body measurements with the pattern chart before choosing a labelled size.
- Mark the baseline and target lines, keeping the grainline and key notches aligned.
- Check bust, waist and hip independently, especially when changing only one size.
- Sew a fitting toile and pin corrections onto the body before altering the paper.
- Record the size, measurements, fabric behaviour and alterations for the next project.
Popular Pattern Reviews
| Pattern | Designer | Type | Highlight |
|---|---|---|---|
| Compose Robe (Kids) | Love Notions | Robe / Loungewear | Sizes 2T–16, cosy & practical |
| Tempo Sundress | Love Notions | Sundress | No closures, shirred back panel |
| Arlington Sweater | Love Notions | Sweater | Cold-weather staple |
| Sybil Illusion Skirt | Love Notions | Skirt (knit) | 7 variations, optional pockets |
| Camden Pinafore | Nina Lee Patterns | Pinafore dress | Year-round layering piece |
| Ogden Cami (dress hack) | True Bias | Cami / Dress | Versatile wardrobe builder |
| Burda 6829 | Burda | Dress | Multi-sized, special-occasion |
Stay in Touch
Subscribe to the newsletter for sewing inspiration, pattern tips, and project ideas delivered straight to your inbox.