Invisible lining techniques for a clean jacket finish
Sewing lining into a jacket with no visible stitches means keeping every temporary and permanent thread away from the shell’s outer face. A lining gives the garment a smooth interior and helps its front edges sit flat, but visible topstitching can make careful work look unfinished. The internal seam still needs to be secure; invisibility should come from placement and enclosure, not weak construction.
Most successful invisible finishes begin before the lining reaches the garment. The shell must be fitted, its seam allowances trimmed or turned, and any bulky intersections resolved. The lining is then hung with controlled ease, rather than being pulled tight enough to distort the front or restrict movement.
Australian conditions make fabric choice especially practical. Brisbane humidity, Sydney coastal summers and Melbourne’s changeable layers all call for breathable or washable options, while Australian haberdasheries commonly sell lining by the metre and use metric measurements. An op-shop jacket can provide an inexpensive trial piece before you cut a special fabric.
Comparing invisible lining finishes
The word “invisible” applies to the jacket exterior, not to every thread inside the garment. Compare the main approaches before choosing one for your pattern.
| Finish | Method | Best use | Main watch-out |
|---|---|---|---|
| Enclosed raw edge | Fold the lining hem around the shell hem edge and stitch through both layers. | A conventional lined jacket | Extra folding can create a thick, puckered hem. |
| Interior lining stitch | Stitch the lining and shell hem allowances together from the inside. | Quick, stable construction | Check that the seam cannot show at vents or the front opening. |
| Floating catch stitch | Roll a narrow lining hem and ladder-stitch it to the shell seam allowance. | Open side seams or adjustable fitting | Uneven tension can leave small internal loops. |
Choose an enclosed raw edge for a fully lined jacket with a conventional hem. Use a floating catch stitch when the pattern leaves side seams open or when you want to adjust the lining after fitting. Test the method on lining scraps, since secure thread tension matters more than tiny stitches.
Preparing the shell and lining
Finish and press the shell before attaching its lining. Check care labels, press the seam allowances, and reduce bulky intersections with careful clipping or trimming. Iron-on interfacing can stabilise a neckline or front edge, but test it on the shell fabric first. Choose a fine woven lining for warmth and structure, or a washable viscose blend for frequent wear; avoid stretch lining unless the pattern specifically permits it.
Match the lining pieces to the shell before sewing. Label the shoulder, front, back and sleeve sections, confirm the grain direction, and follow the pattern’s specified seam allowance. Whether you use a Love Notions pattern or another independent design, avoid combining instructions from different sizing systems. Let the lining hang with the ease specified by the pattern rather than stretching it to match the shell. For practice, use an inexpensive op-shop blazer or take inspiration from Rose Street Market in Melbourne. The DIY project library offers other shells for rehearsing difficult necklines, vents and facings.
Joining the lining pieces
Join the lining shoulder seams, sleeve seams and any side seams called for by the pattern. Use the indicated seam allowance, press the seams toward the lining, and notch curves before turning them. If the design deliberately leaves the lining side seams open, do not close them simply to make construction easier. Keep the lining hem allowance at its planned depth until the jacket has been fitted.
Hang the lining inside the shell and match the shoulder, neckline and armhole points. Distribute the prescribed ease by hand, securing the lining temporarily within the seam allowance. Remove the pins as you work, and never pull the lining to make it fit. Comfortable lining and durable internal seams are valuable in clothing subject to regular use; the practical priorities reflected in family sewing ideas suit the same need for dependable construction.
Enclosing the hem and seam allowances
With the shell turned inside out, place the lining inside it. Fold the lining hem allowance around the raw lower edge of the shell, pinning the fold so it sits at the level specified by the pattern. Check the centre back and side seams for an even drop before sewing. Stitch around the lower edge through both layers. The raw edges are trapped inside the fold, and the stitching remains on the inside of the jacket.
For a floating lining, turn a very narrow hem and catch-stitch it to the shell’s inner seam allowance with a ladder stitch. Keep each catch approximately 2–3 mm long and use thread that blends with the lining. Press from the wrong side with a cloth, and avoid clipping the lining seam allowance at a curve until the fit is secure. If the lining pulls near an opening, release several stitches and redistribute the tension rather than trimming the excess.
Closing the front edge and neckline
At the centre front, keep the lining underlap within the finished allowance shown by the pattern. Fold its raw edge toward the lining, then tack it to the front facing or edge seam allowance with tiny catch stitches. Do not pull the shell front towards the lining, as this can create ripples. At the neckline, align the lining edge with the shell seam allowance and enclose it as directed by the pattern. Where the neckline remains open, turn a minute hem and hand-tack it with fine matching thread.
Check that no lining peeks through the neckline, button stand or front opening, and leave buttonholes free of bridging threads. A useful internal pocket can follow the self-drafted trouser pocket bag method, adapted to sit flat against the lining. Secure the pocket before closing the lower lining edge so its bulk cannot create lumps near the hem.
Setting the sleeves and lining together
Match the sleeve-cap notches between the lining and shell sleeve. Follow the pattern to determine whether the lining sleeve joins the armhole seam allowance or hangs free. Where it joins, distribute the prescribed ease and secure the layers with short tacks inside the seam allowance rather than long exposed basting stitches. Fine jackets can retain puncture marks or temporary thread impressions on the outer face.
Never pull the sleeve lining to make it mirror the outer sleeve exactly. Hang the finished jacket overnight so gravity can settle the lining, then check the shoulder, underarm and front opening again. Enclose the lining at the cuff according to the design, or secure it with a small catch stitch if the pattern allows. Press sleeve seams from the inside over a rolled towel, then remove every temporary thread before the jacket is worn.
Checking and pressing the finished jacket
Turn the jacket inside out and inspect every seam under good light. Look for loose loops, lining caught in a zipper, uneven hems and exposed basting. Check the exterior too: there should be no contrasting thread, pin holes, shiny pressure marks or edges of lining showing through. Press each seam gently from the wrong side, using a pressing cloth and a temperature approved by the care label.
Follow the care instructions for both the shell and lining, as their requirements may differ. If the jacket is washable, use a gentle cycle and avoid high Australian tumble-dry heat that could shrink viscose. Store it on a broad hanger to prevent shoulder dents and allow the lining to remain smooth. Once the lining is enclosed, its thread and bulk stay controlled while the outer jacket retains the uninterrupted finish you chose.
Popular Pattern Reviews
| Pattern | Designer | Type | Highlight |
|---|---|---|---|
| Compose Robe (Kids) | Love Notions | Robe / Loungewear | Sizes 2T–16, cosy & practical |
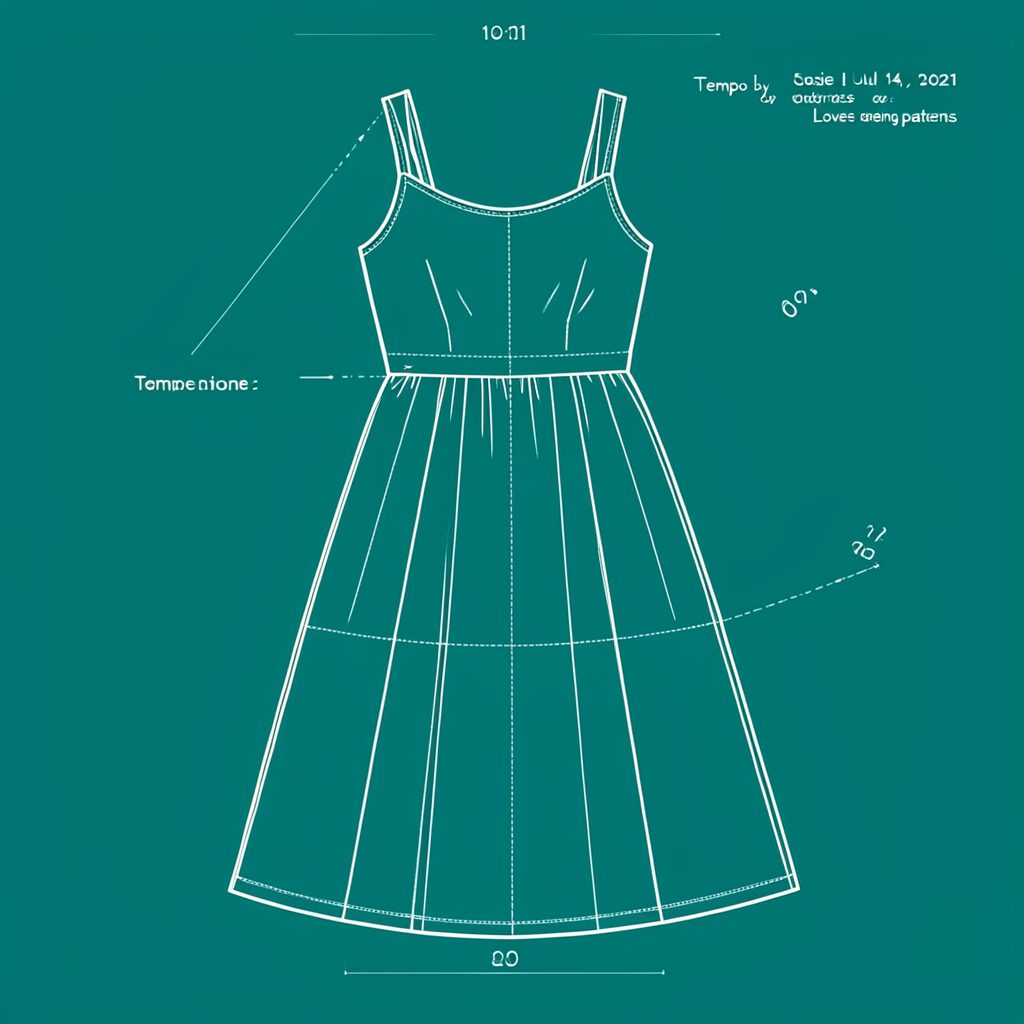
| Tempo Sundress | Love Notions | Sundress | No closures, shirred back panel |
| Arlington Sweater | Love Notions | Sweater | Cold-weather staple |
| Sybil Illusion Skirt | Love Notions | Skirt (knit) | 7 variations, optional pockets |
| Camden Pinafore | Nina Lee Patterns | Pinafore dress | Year-round layering piece |
| Ogden Cami (dress hack) | True Bias | Cami / Dress | Versatile wardrobe builder |
| Burda 6829 | Burda | Dress | Multi-sized, special-occasion |
Stay in Touch
Subscribe to the newsletter for sewing inspiration, pattern tips, and project ideas delivered straight to your inbox.