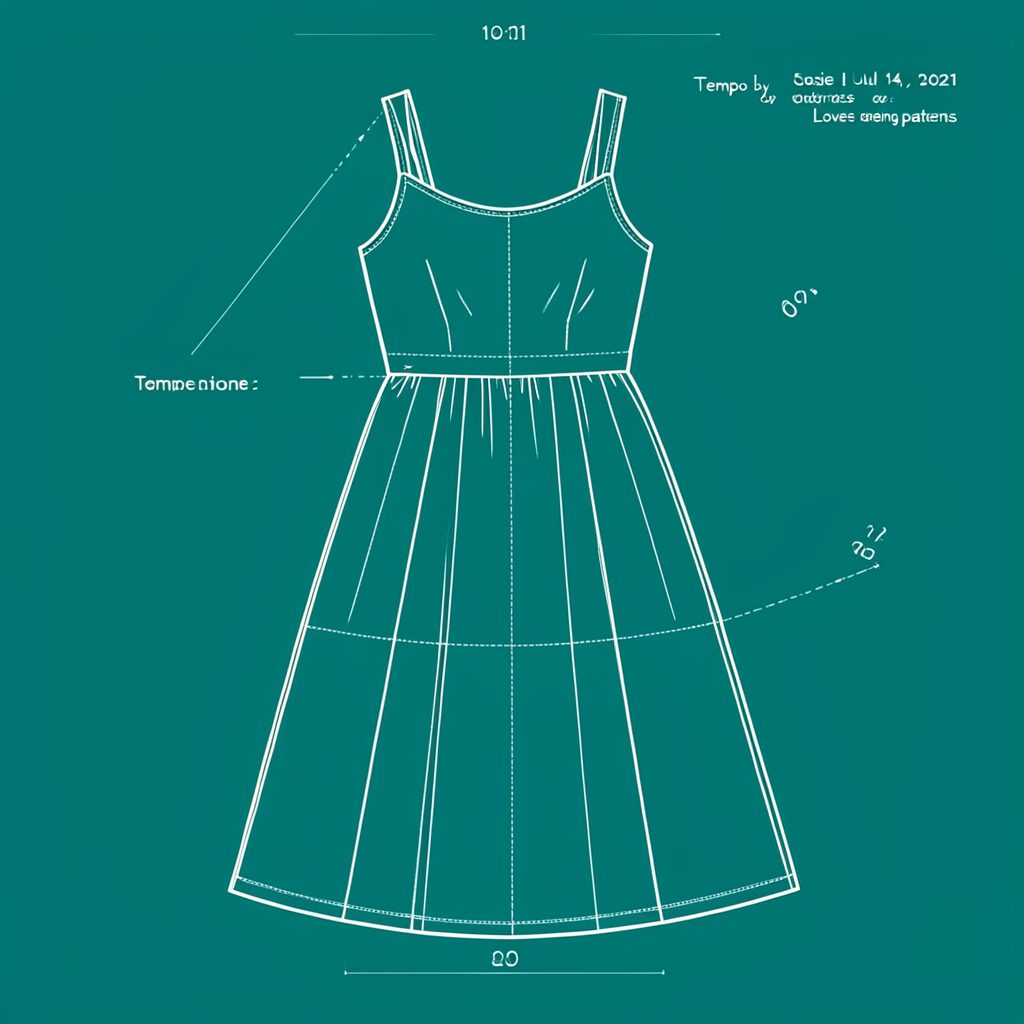
Sewing a back yoke on a button down shirt
A back yoke is the shaped or gathered panel across the upper back of a shirt. On a button down shirt, it controls fullness, gives structure and creates a useful place for lining or embroidery. It is more than decoration: fit depends on shoulder width, neckline curve, armhole shape and the ease held in the panel.
A successful yoke begins with a pattern that includes the construction, rather than pinning a separate piece onto a finished shirt. Work from a toile when adapting a commercial design because neckline depth, shoulder ease and seam allowances vary between pattern designers. The same checks suit Love Notions patterns and other independent sewing patterns.
Choosing your shirt pattern and yoke style
The main choice is a flat, gathered or pleated yoke. A flat yoke follows a smooth back line and may be curved; gathers add softness; knife or box pleats retain a crisp shirt appearance. Follow the pattern’s marked fold lines and easing directions instead of distributing fullness by eye.
| Yoke choice | Shape and fullness | Useful for | Construction focus |
|---|---|---|---|
| Flat yoke | Smooth and often curved, with no added fullness | A clean shirt back | Match neckline and armhole curves accurately |
| Gathered yoke | Controlled fullness along the lower edge | A softer, casual drape | Distribute gathers without easing the neckline |
| Pleated yoke | Knife or box pleats secured near the shoulders | A crisp shirt with shaped structure | Mark and secure every fold before stitching |
Check fit over the body and intended underlayer. Make a quick cotton test garment, then compare shoulder width, armhole circumference and yoke length. Diagonal drag calls for reshaping; ripples usually indicate excess width. Although Josie sews in Yorkshire, Josie’s background connects indie pattern testing with practical garment construction.
Australian sewists often compare metric size charts, fabric widths and designer-specific grading while buying digital patterns from local creators or boutiques in Adelaide, Melbourne and Brisbane. Treat every pattern’s neckline, shoulder and ease information as design-specific, not as a universal sizing formula.
Preparing fabric and pattern pieces
Choose fabric after deciding how the shirt will be worn. Cotton voile or linen can be comfortable in Brisbane’s humid summers, while cotton twill may suit Sydney office wear. In Melbourne’s changeable weather, leave enough room in the yoke and armholes for a fine knit without making the shirt bulky.
Fabric behaviour matters as much as colour. Test drape and recovery on a double layer if opacity matters. In the Brooks bomber adaptation, compact cloth and deliberate shaping create definition, while a fluid shirt can hold its yoke through accurate seam management. Choose interfacing only where it stabilises the neckline or collar without stiffening the entire back.
Wash and dry fabric before cutting, following the mill’s care guidance. A fabric that grows after sewing can distort grainline alignment and make a carefully fitted yoke look uneven. Find the grainline, transfer notches and internal markings, then cut the front, back, yoke, sleeve and facing pieces. Keep the seam allowance consistent with the pattern rather than widening it casually.
Australian makers often buy remnants through local op shops, independent fabric sellers or maker stalls, so check bolt width and dye lots before planning the layout. If you sell finished clothing, check the current ACCC textile-labelling requirements under the Competition and Consumer Act 2010; fibre-content labels generally apply to qualifying textile goods. The rules concern commercial supply, so home sewing should not be treated as a retail labelling exercise.
Attaching the back yoke
Before stitching, stay-stitch the back neckline if directed, then place the yoke right side down on the back bodice. Match the centre-back line and armhole corners, and pin with the raw edges flush.
Before the needle goes in, make three checks:
- Match centre-back notches and both armhole corners before easing anything.
- Distribute gathers evenly without changing the neckline edge.
- Align the yoke shoulder ends with the bodice shoulder line.
- Secure knife or box pleats at every marked fold before removing the pins.
As the seam is sewn, control it in three ways:
- Use shorter stitches through multiple layers near the centre-back neckline curve.
- Stitch from armhole to armhole without pushing fullness toward the front.
- Clip bulky curves only after checking seam allowances, then press in the pattern-specified direction.
After stitching, inspect the back in a mirror and compare both armholes from the side. Remove a pin if the yoke edge is longer, but never trim it casually; fitting changes belong in the toile. Indie pattern adaptation can help develop that judgement: the Cascade dress hack shows how a commercial bodice can be reworked while preserving useful fit information.
Adding the collar, placket and cuffs
With the yoke seam pressed, join the front and back shoulder seams, matching neckline points and easing any sleeve-head ease according to the pattern. Keep the yoke’s armhole bulk directed away from the sleeve. Different commercial patterns may place the collar before the side seams, so preserve their stated assembly order.
Attach or build the collar stand according to the pattern, keeping the stand and collar curves balanced around the neckline. A button-down collar has small buttons or tabs holding its points to the shirt body; match that convention to the chosen pattern rather than substituting decorative snaps. Reinforce the placket before adding buttonholes and buttons, especially at the chest area.
Add the cuffs after the sleeves are set, checking that each cuff opening clears the wrist over the layer worn underneath. For Australian daily wear, consider a shirt that moves between an office, air-conditioned travel and weekend layering. A smooth yoke supports that versatility without restricting movement.
Checking fit and refining the finish
Hang the shirt overnight, then wear it seated and with arms forward. A yoke that pulls across the shoulder blades needs more length or less ease; a tight band under the armholes often means the yoke edge is too short. Button the front and raise both arms before making further fit changes.
Press the yoke seam before setting sleeves, using a pressing cloth and enough steam to relax the seam allowance without flattening a gathered edge. Finish with a clean press of the collar stand, plackets and cuffs. Wash the test shirt according to its fibre and care information, then repeat the fit checks while it is still slightly damp.
Once the basic yoke fits, try a contrast undercollar, visible topstitching or a lightly shaped rectangular yoke for a different shirt silhouette. For wider family-sewing inspiration beyond specialist garment patterns, Worldwide Mom offers practical project ideas. Australian maker groups and fabric-store workshops can also provide useful advice on unusual lightweight cloth. A balanced yoke keeps the shirt comfortable across climates while preserving its clean upper-back line.
Popular Pattern Reviews
| Pattern | Designer | Type | Highlight |
|---|---|---|---|
| Compose Robe (Kids) | Love Notions | Robe / Loungewear | Sizes 2T–16, cosy & practical |
| Tempo Sundress | Love Notions | Sundress | No closures, shirred back panel |
| Arlington Sweater | Love Notions | Sweater | Cold-weather staple |
| Sybil Illusion Skirt | Love Notions | Skirt (knit) | 7 variations, optional pockets |
| Camden Pinafore | Nina Lee Patterns | Pinafore dress | Year-round layering piece |
| Ogden Cami (dress hack) | True Bias | Cami / Dress | Versatile wardrobe builder |
| Burda 6829 | Burda | Dress | Multi-sized, special-occasion |
Stay in Touch
Subscribe to the newsletter for sewing inspiration, pattern tips, and project ideas delivered straight to your inbox.