DIY reusable snack bags with waterproof coating
Reusable snack bags reduce the pile of single-use wrappers around lunches, especially for households in Sydney, Melbourne, Brisbane and other busy Australian cities. A washable pouch can hold crackers, wraps, fruit or small treats, while a well-sealed lining also copes with damp food and accidental spills. Learn more about Schneeflocken Aus Papier Winterliche Dekoration Mit Stanzen.html.
The most useful design combines a cotton outer layer, a moisture-resistant lining, a secure closure and a gusset for depth. It can be sewn from a square of fabric in an afternoon, yet the same basic shape can be scaled for freezer snacks, travel essentials or a generous sandwich pouch. Learn more about Fabric Guide Choosing The Best Jersey For T Shirts.
This guide explains how to make reusable snack bags with waterproof coating while recognising that fabrics, seams and closures behave differently. Choose the coating for the food and wash routine, then test the finished pouch before packing anything fragile. Learn more about Kak Uluchshit Priyem Na Diapazone 80 Metrov V Gorodskikh Usloviyakh Notes.
Plan the pouch before you cut
Start with the snack, not the fabric. For crackers, muesli bars and nuts, an envelope pouch around 18 by 22 cm is enough. A sandwich pouch benefits from roughly 22 by 28 cm, a 20 cm zip and a folded or boxed bottom. Draw the final shape on paper first, then cut matching pieces so the opening and gusset align. Learn more about Disclaimer.
Decide how the bag will close before assembly. A zip gives the best leak protection; snaps are quicker to make but create puncture points; elastic or a drawstring is comfortable but less secure around damp contents. Buy one extra centimetre of closure length because zipper tape and elastic sizes differ. Learn more about Love Notions Allie Top A Beginner Friendly Project.
Sewing the bag is easier if you already read simple pattern instructions. This [beginner-friendly Allie Top] walkthrough offers useful practice with reading pieces and completing a beginner garment; those same skills transfer directly to a small zip pouch.
Choose a lining that actually stops leaks
The outer fabric can be quilting cotton, canvas or washable cotton print. The lining does the waterproof work. Choose coated cotton, oilcloth or polyurethane-backed fabric (PUL) only when its documentation supports the intended food-contact use. Keep the coated side toward the snack, and replace vinyl that has cracked or separated.
Factory-coated cloth arrives sealed and consistent, making it the dependable choice for a lunch bag. A DIY wax or beeswax finish can be brushed onto plain cotton, but it may crack with bending and does not seal stitched seams. It suits a dry-snap pouch better than a bag carrying juice or damp berries.
For a simple self-coated version, use plain cotton and a craft wax formulated for fabric. Apply it according to the product directions, often with a warm brush, then buff and allow the fabric to cure. Treat it as splash-resistant: exposed seams still need sealing, and do not use a DIY wax lining for hot, oily or prolonged food contact unless its documentation states otherwise.
If adding an elastic pocket for a sauce pot, choose a small piece of stretch fabric. This [jersey fabric guide] explains jersey stretch and recovery, which helps when matching a side pocket to a cotton body. Jersey is not a substitute for waterproof lining, and the pot needs a tight cap.
Cut the fabric and prepare the details
Wash and dry all fabrics before cutting so the pouch keeps its shape. Lay the pieces right sides together, mark the opening and gusset, and cut the lining 5 mm smaller than the outer cloth at exposed edges. Add firm interfacing behind the zip or snap ends, where repeated opening can loosen stitches.
Turn the lower corners diagonally or stitch a boxed gusset to create depth. A diagonal fold is quick and suits light snacks; a boxed base carries heavier food but takes more sewing. Test the shape with a paper template first, especially with a pronounced stripe or check.
Offcuts can become tabs, wash labels or gift tags. For a seasonal handmade touch, these [paper snowflake decorations] show how a simple punched shape can add character to plain packaging. For the pouch, press seams flat and remove bulk, but avoid pressing directly onto vinyl or PUL unless its care instructions allow it.
Compare the main pouch styles
The right construction depends on whether the bag carries dry snacks or moist lunches. Compare closure, depth and lining before choosing the simplest-looking version.
| Pouch style | Best suited to | Leak protection | Main construction point |
|---|---|---|---|
| Envelope | Dry, wrapped snacks | Moderate | Fold the top; lowest fabric use |
| Zippered envelope | Mixed snacks | Good with lined seams | Add gusset tabs for width |
| Boxed zip pouch | Sandwiches or fruit | Strong | Line seams and reinforce the base |
| Drawstring | Portioned snacks | Moderate | Leave an opening for turning safely |
For most everyday use, a zippered boxed pouch with a suitable lining is the most forgiving combination. It handles fruit better than an envelope and protects the zip from crumbs. An envelope can still work for wrapped snacks if each item is sealed before it enters the bag.
Assemble the waterproof interior
Line the outer and inner pieces separately, with right sides facing each other. Stitch the lining seams first, then the outer seams, leaving the top open. Keep waterproof layers slightly shorter at the opening so they cannot curl over the closure. Use a short stitch and polyester thread, then run each seam a second time.
Press open seams toward the lining rather than the outer fabric, reducing bulk at the bottom. If liquid is likely, bind exposed inner edges with fold-over bias binding or clean strips of the same coated fabric. Do not rely on seam sealer unless it is compatible with the lining and safe for intended food contact.
Insulation is separate from waterproofing. A thin recycled-fleece piece can support a cold lunchbox, but make it removable for washing. This [urban thermal notes] on retaining warmth in severe conditions illustrates how trapped air and layers work, although a snack bag needs a closed moisture barrier rather than body insulation.
Pack it safely for Australian lunches
Australian lunch routines vary from office lunches in central Sydney and Melbourne to school parcels, work-site snacks and long drives. A wipe-clean lining is useful in humid weather, while Queensland heat means food may need cooling before it goes into the bag. An insulated lunchbox helps, but it cannot make spoiled or warm food safe.
Keep perishable sandwiches, meat, dairy and cut fruit chilled. Australian food-safety guidance recommends keeping perishable food at 5°C or below; common household advice is to discard it if left warm for more than two hours, or one hour when the temperature is above 40°C. Frozen water bottles can serve as cold packs, and separate compartments stop moisture reaching the outer fabric.
For materials, Australian haberdasheries, op-shops and weekend fabric markets are good sources of cotton remnants and offcuts. Check the fibre content and wash symbol before buying. Decorative cloth with an unknown coating is fine for the outer layer, but it should not touch food, and badly cracked or worn vinyl should be replaced.
Wash, inspect and use the bags well
Turn the bag inside out, empty crumbs and unzip it fully before washing. Use a cool or warm gentle cycle, then line dry to protect the coating and reduce creasing. Inspect the zip, seam and lining after every wash, and mend a small split before it spreads.
Use separate routines for washing and packing:
- Empty crumbs, wipe the lining and check for damp food before washing.
- Wash the pouch separately on a gentle cycle and avoid fabric softener.
- Dry it fully with the zip open, then inspect the seams and closures.
Before packing, a quick checklist protects both the bag and the food:
- Keep chilled foods in an insulated lunchbox with a cold pack.
- Double-bag wet or leaking items and keep them away from dry snacks.
- Label portions with the contents and date when freezing.
- Return dry snacks to a clean, fully dry pouch after opening.
If bags are made for personal use, no special registration is needed. Selling them adds state and territory obligations, so check your local council or food-business authority for registration, food-contact material rules, labelling and any cottage-food requirements. Hygiene and food-safety claims must be accurate under Australian consumer law. My [site disclaimer] also sets out the limits of advice shared on this craft blog.
When a pouch reaches the end of its life, reuse the safe outer fabric and replace the lining rather than sending usable material to landfill. A repaired snack bag often outlasts a new disposable wrapper, and keeping the pattern lets you make another from the next suitable piece of cotton.
Popular Pattern Reviews
| Pattern | Designer | Type | Highlight |
|---|---|---|---|
| Compose Robe (Kids) | Love Notions | Robe / Loungewear | Sizes 2T–16, cosy & practical |
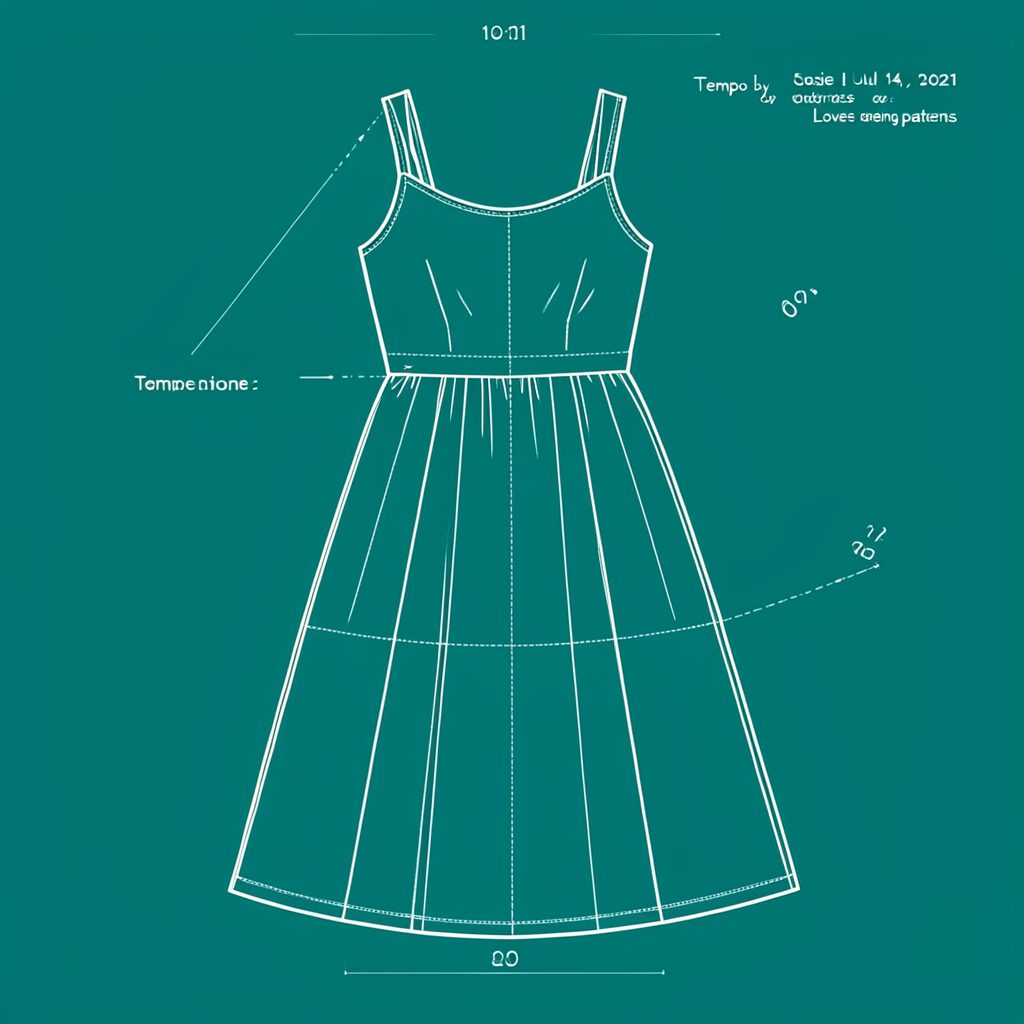
| Tempo Sundress | Love Notions | Sundress | No closures, shirred back panel |
| Arlington Sweater | Love Notions | Sweater | Cold-weather staple |
| Sybil Illusion Skirt | Love Notions | Skirt (knit) | 7 variations, optional pockets |
| Camden Pinafore | Nina Lee Patterns | Pinafore dress | Year-round layering piece |
| Ogden Cami (dress hack) | True Bias | Cami / Dress | Versatile wardrobe builder |
| Burda 6829 | Burda | Dress | Multi-sized, special-occasion |
Stay in Touch
Subscribe to the newsletter for sewing inspiration, pattern tips, and project ideas delivered straight to your inbox.